Custom rifle: Making a Plug (pattern)
This post describe the first steps in the making of a custom carbon fiber rifle stock, which covers the template or plug. This plug will be used to create a mold from. And from the mold, we can make the custom carbon fiber rifle stock.
In composite mold making, a plug (also called a pattern) is the master shape or template used to create the mold. It is an exact, full-scale model of the desired part or component. The plug is critical because the surface quality, dimensions, and geometry of the plug directly determine the quality of the final composite part.
Key roles of a plug in composite mold making:
- Master Template: The plug represents the exact dimensions and geometry of the final product.
- Surface Finish: The surface quality of the plug (smooth, textured, etc.) will transfer to the mold, which in turn transfers to the final composite part.
- Mold Construction: Once the plug is made, materials like fiberglass or carbon fiber are laid over it to create a negative impression (the mold).
- Prototyping: The plug can be used as a prototype to test form and fit before the actual composite part is made.
A well-made plug is crucial for ensuring the accuracy and consistency of the mold and, by extension, the final composite components.
Lets get on with it
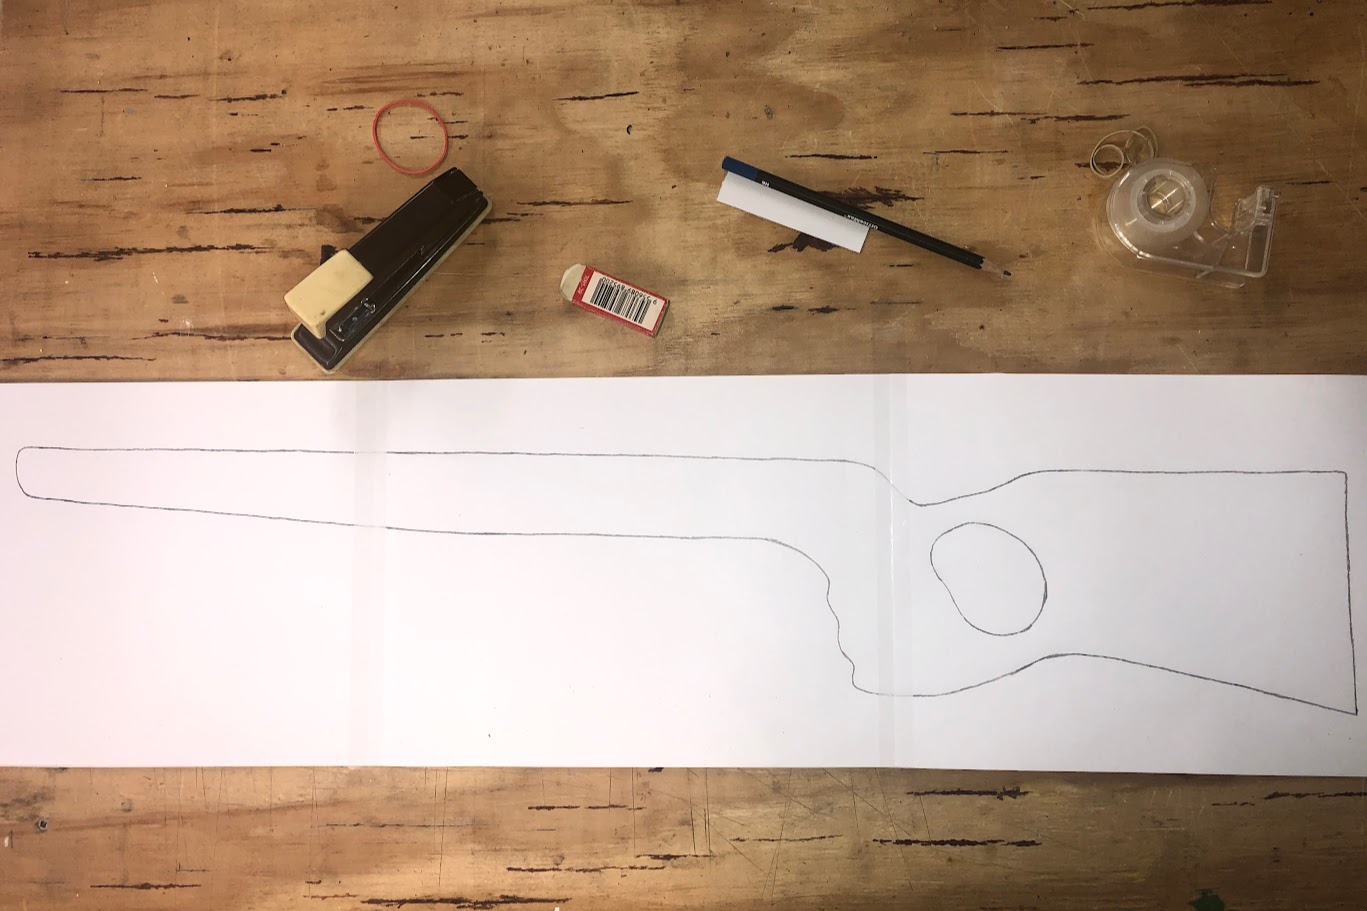
1. Creating the paper design
Start by defining the basic two dimensional shape of the plug based on research, other similar items or experience from off-the-shelf items on which you identified areas you wish to improve on.
In my case, I based the design on Boyds At-One adjustable gun-stock and a GRS Bifrost. Both stocks I own, and both with features I like, but neither a perfect fit.
2. Transfer the paper design to the wood
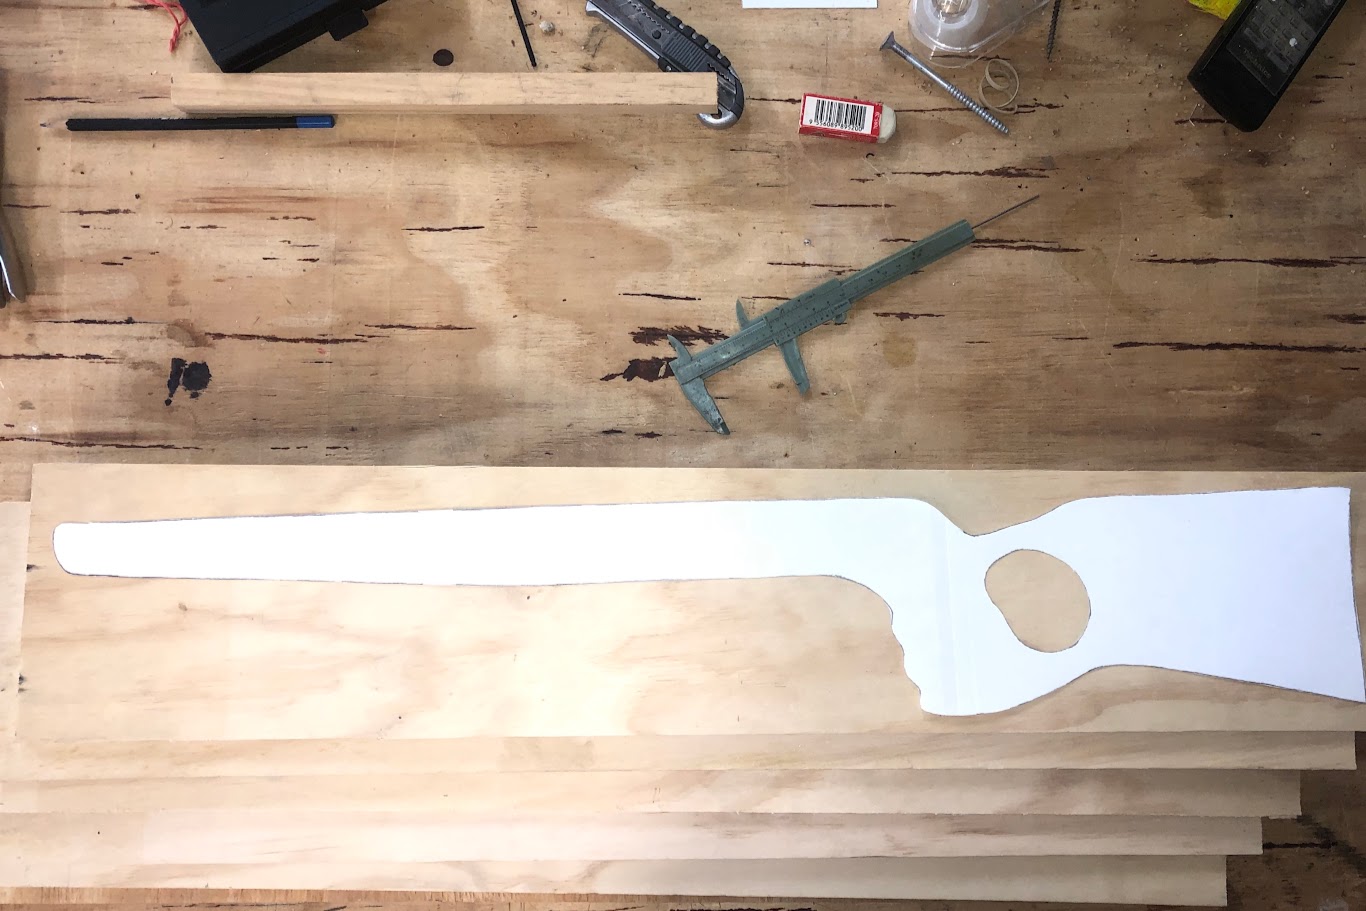
I decided to use multiply to build my plug from because that allowed me to build up the stock in specific places where I want to have more material like for example the ergonomic grip area.
Transfer the paper design to the wood.
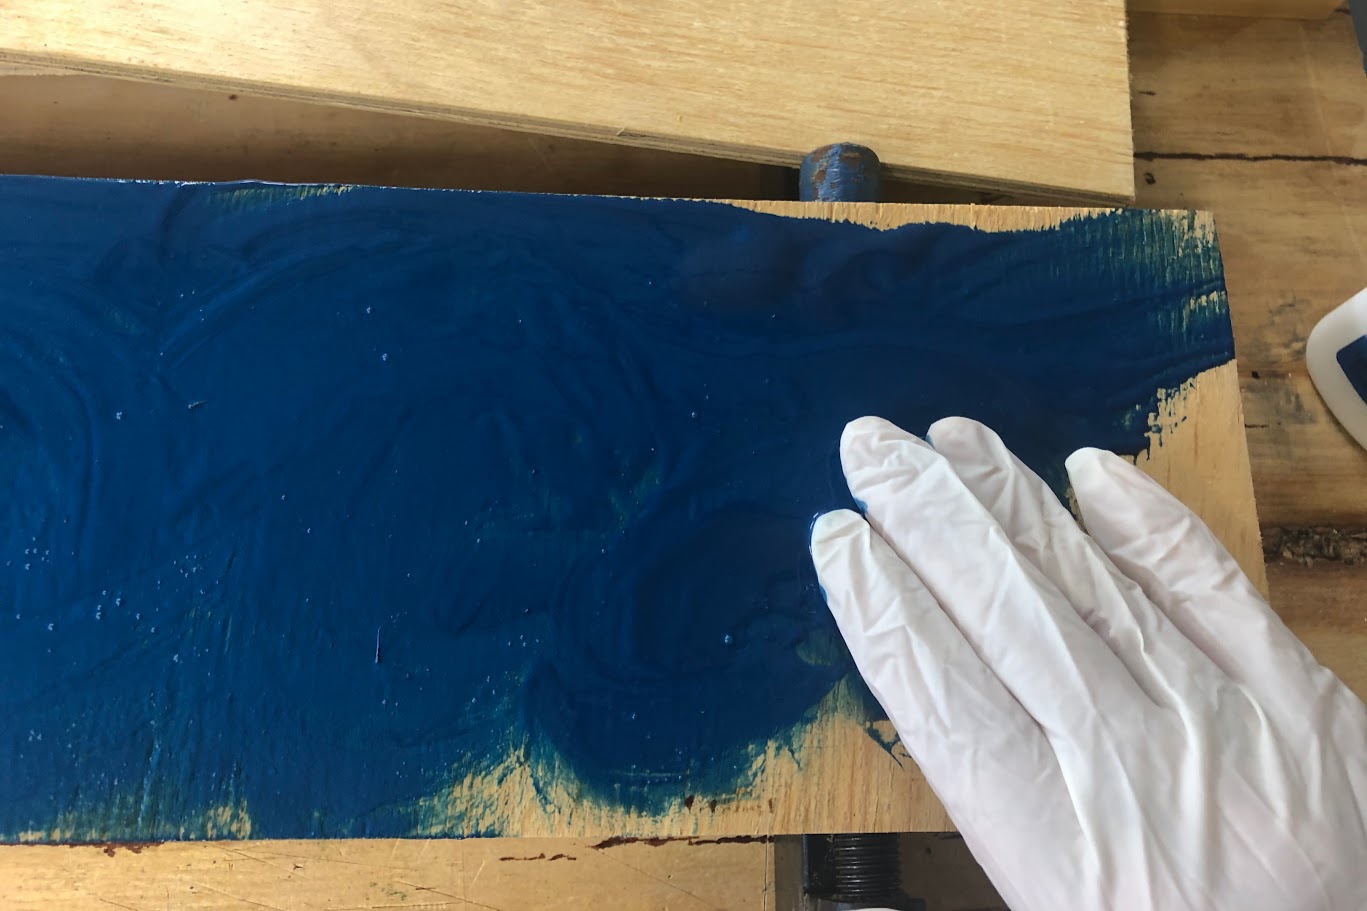
Because my plug is not symmetrical, I mixed some blue paint with the glue so that I can see where the approximate center line of the plug is (I will explain more about why this is helpful in the next blog post covering the mold making process)
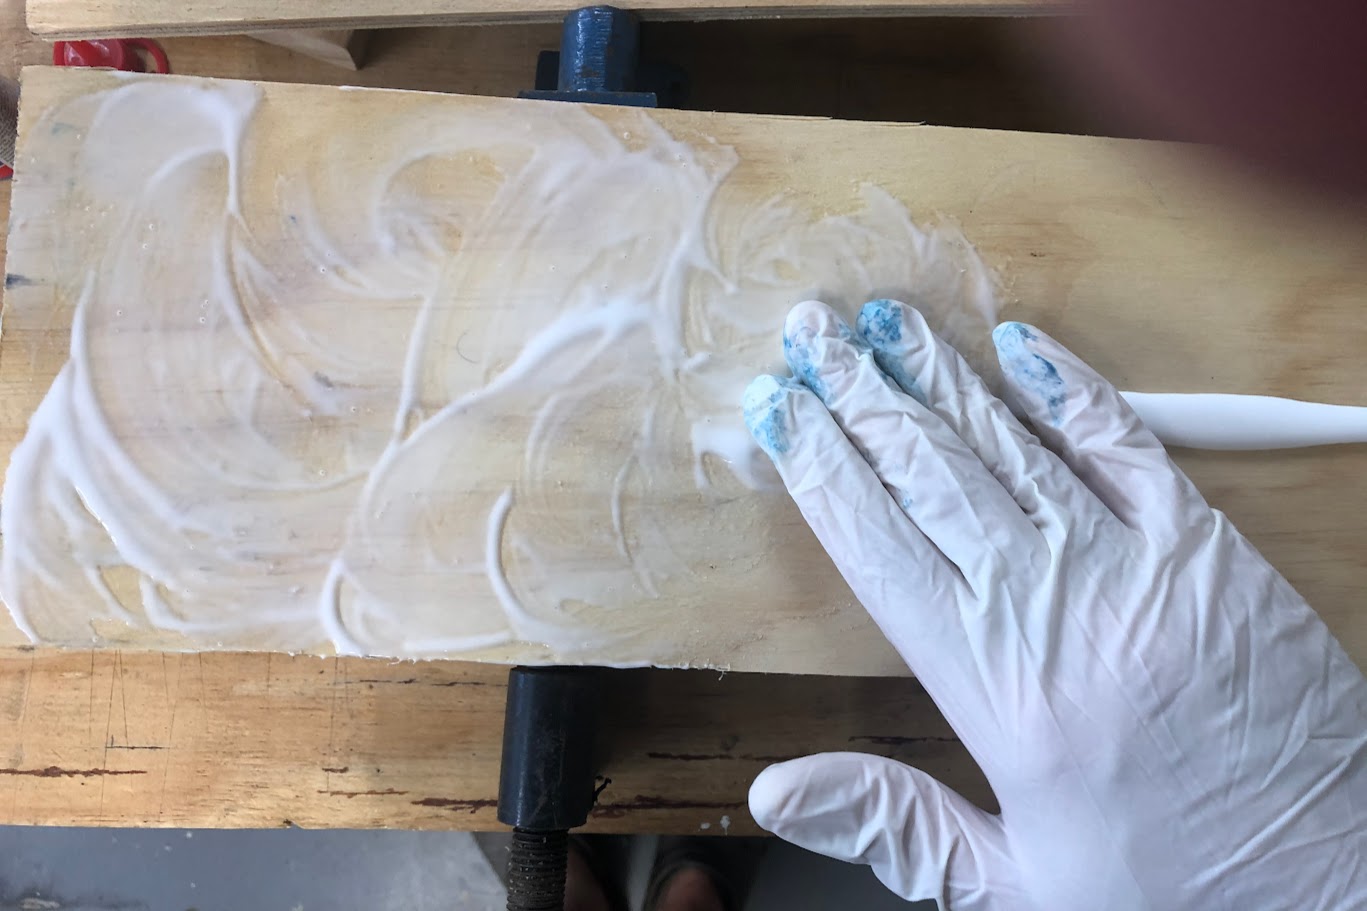
The rest of the sheets of wood just get normal glue, but it is worth-while to spend your time to make sure the glue covers all areas of the sheets.
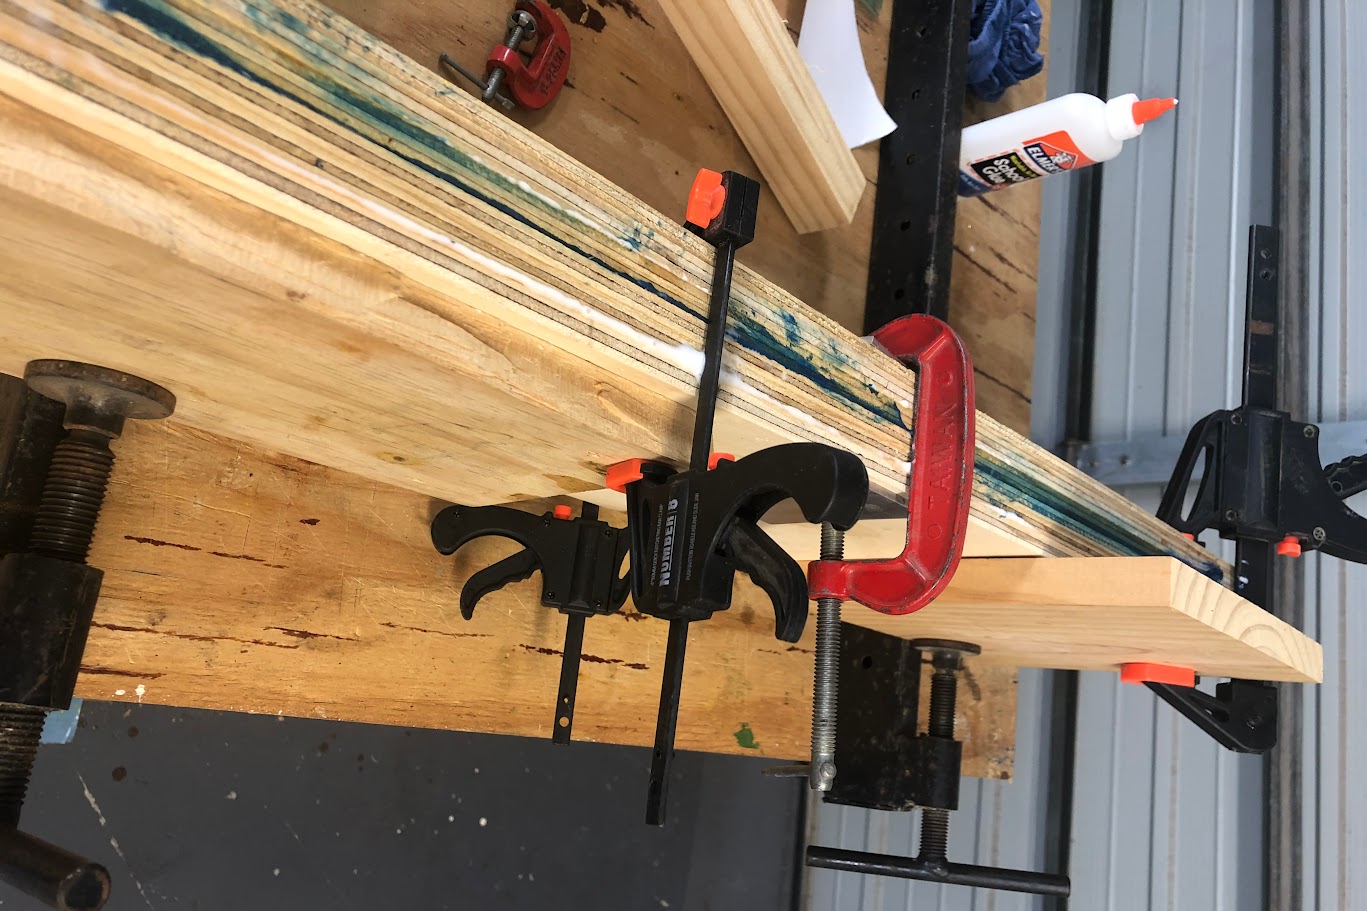
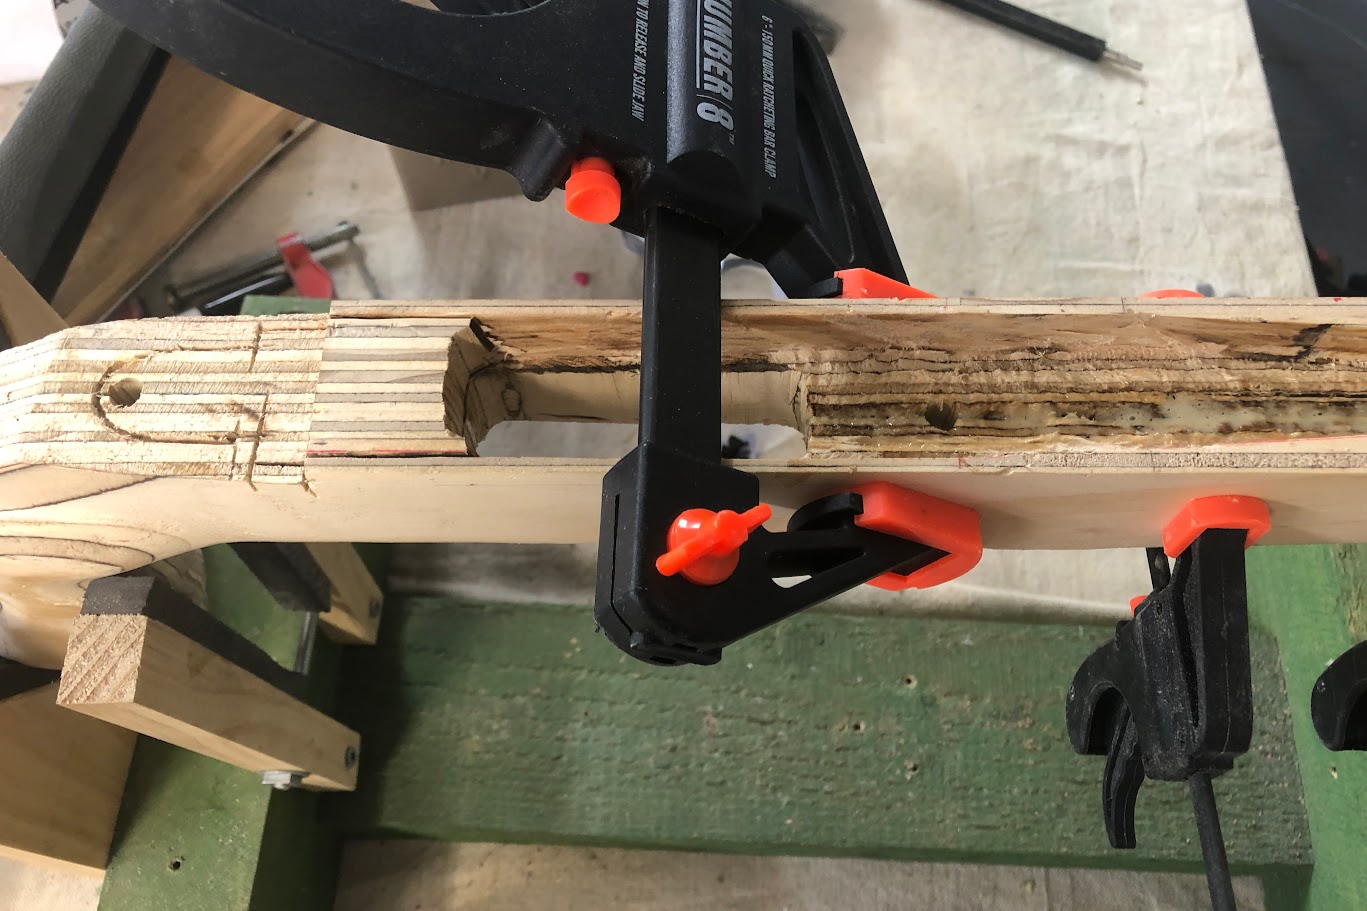
Combine all the glue covered multiply sheets, and use clamps to keep everything in place. Leave the glue to dry based on the glue manufacturer’s specifications.
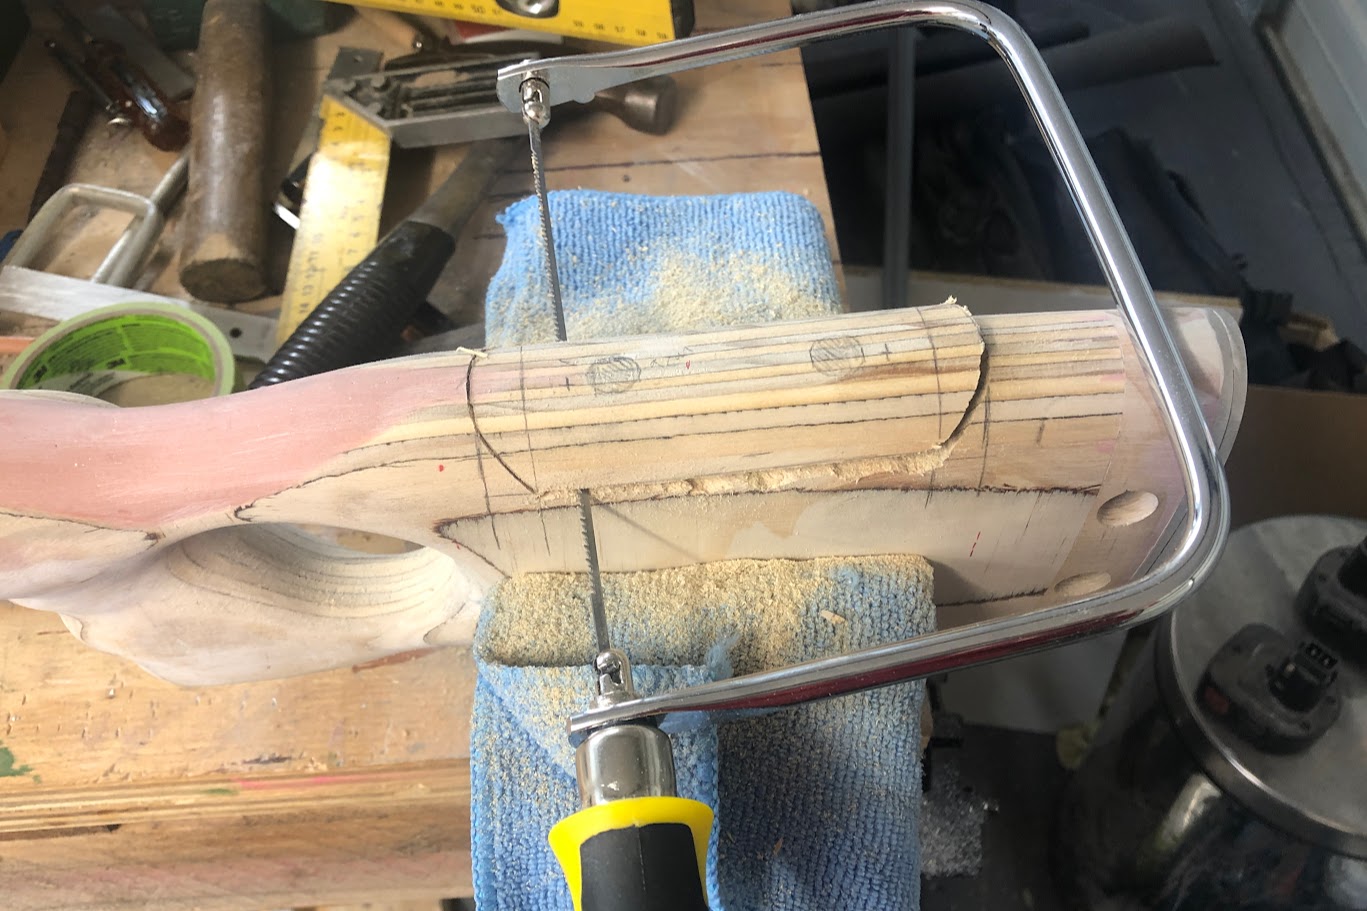
3. Rough-cut the wooden plug shape

Cut the traced shape from the glued wood-pack, giving a small amount of margin (you can always take away, but it is more difficult to add material - although not impossible)
Do the same on the top (or bottom) of the plug. The result will be rough cut shape of the custom rifle stock.
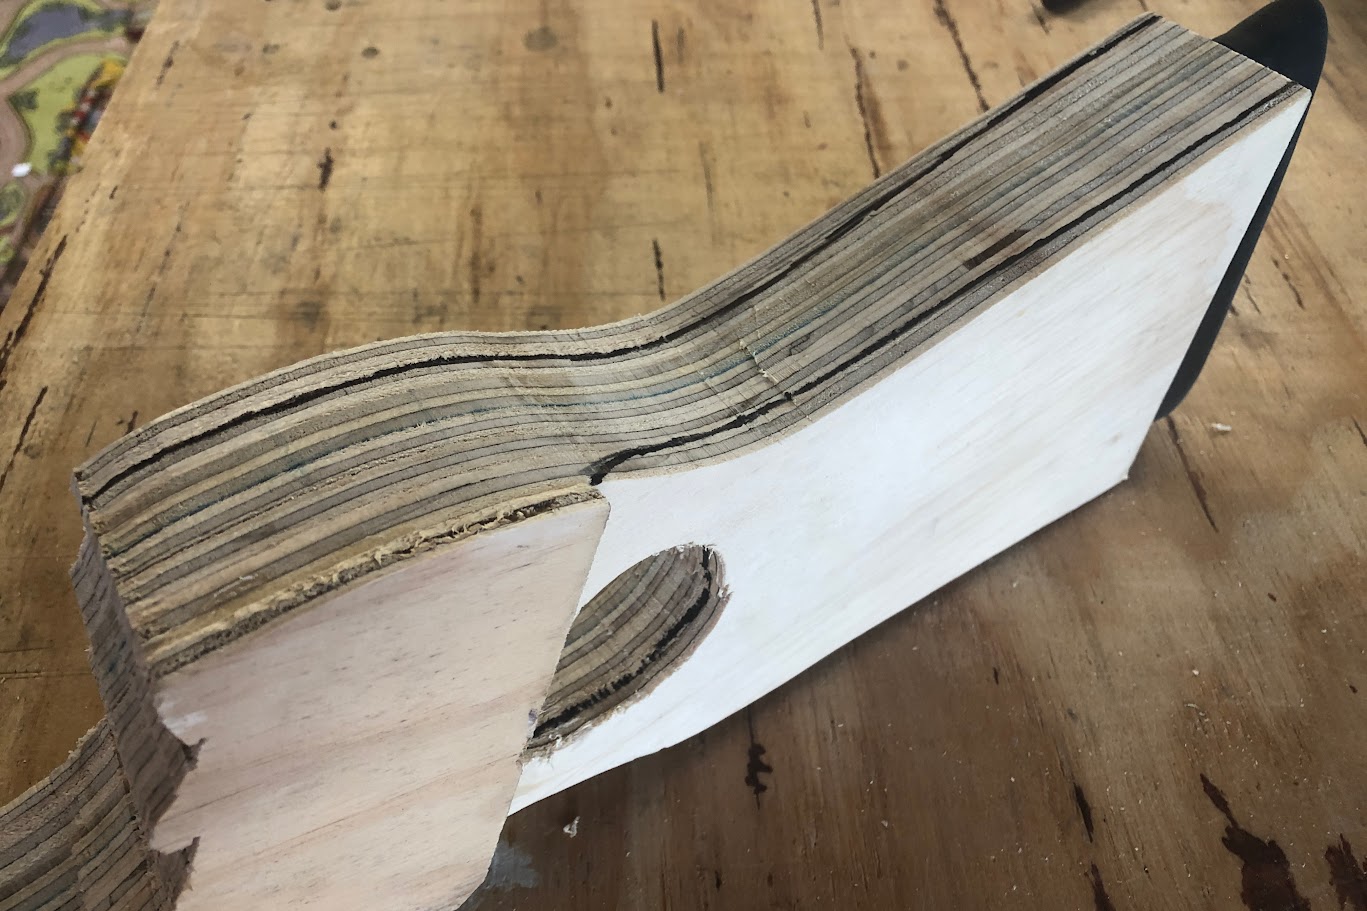
Add, extra material in the areas where you wish you build the plug up, for example in this case where I want the grip to be off-center to the right (I am a right-handed shooter)

Trace the recoil pad shape. This is not where the recoil pad will be mounted, but this serves as a good indicator to form the shape.
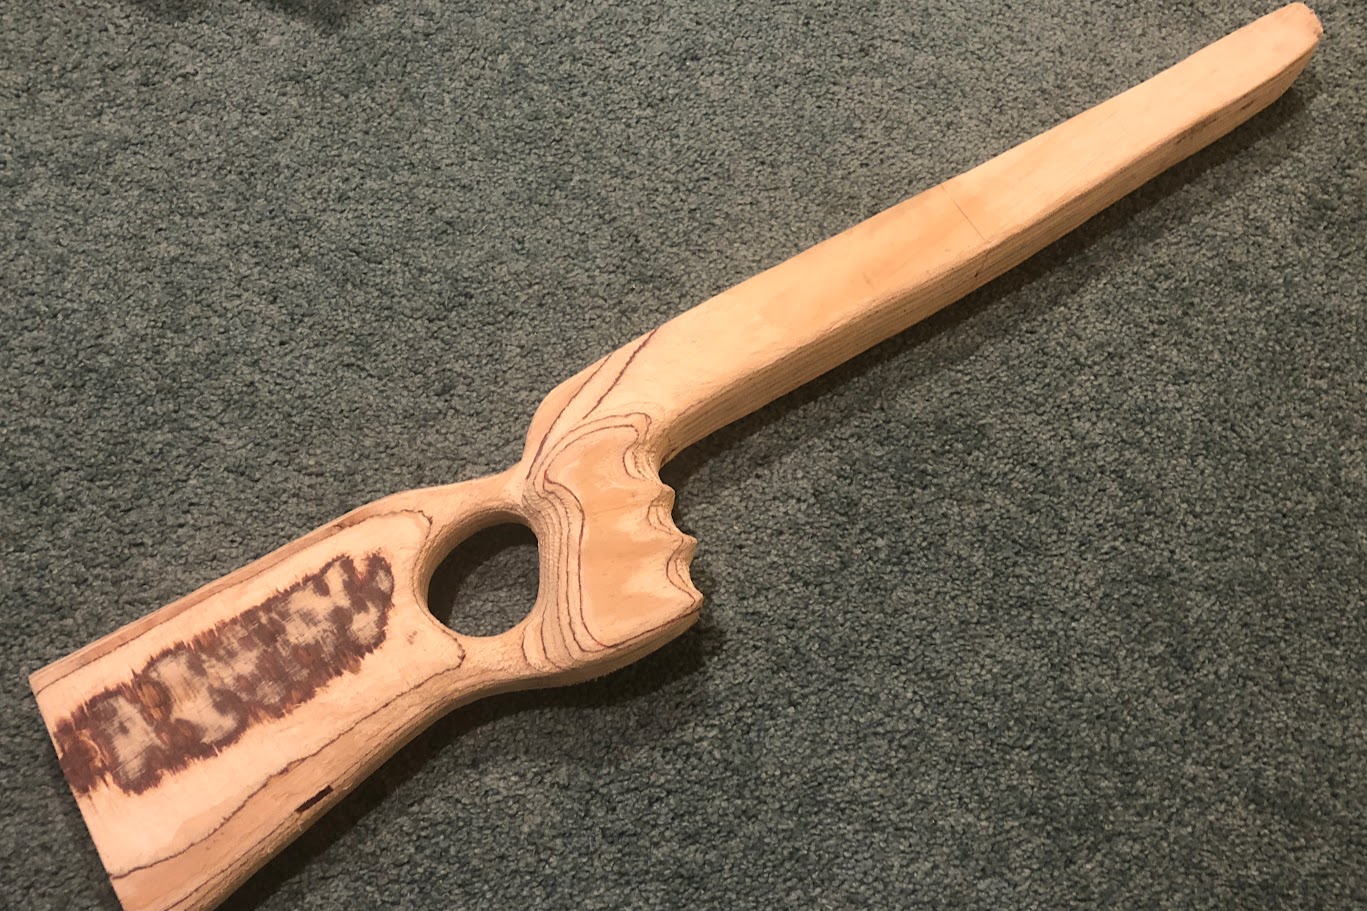
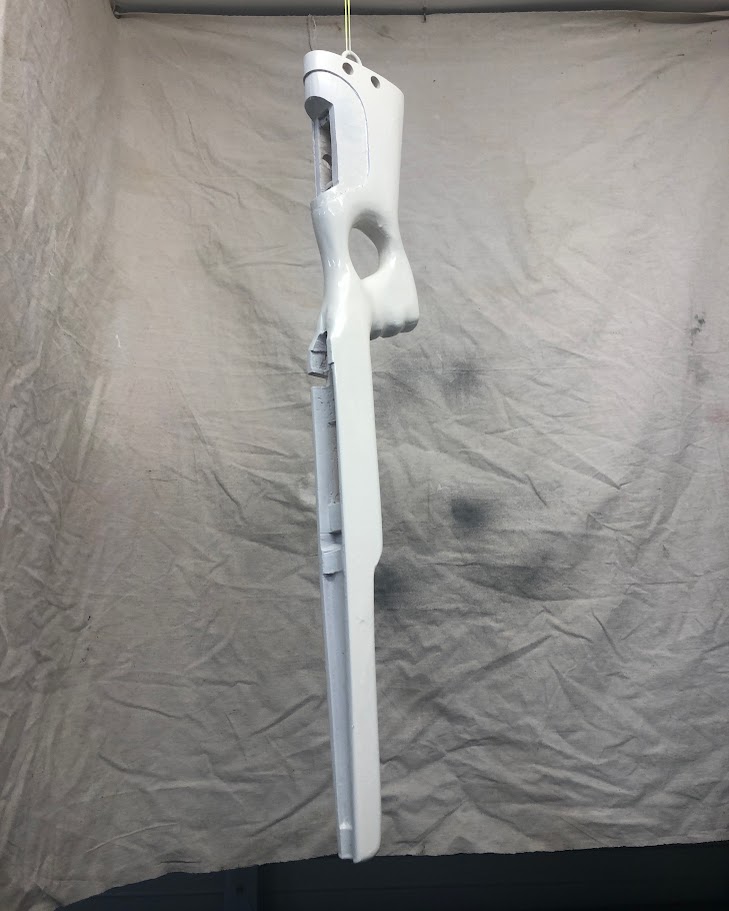
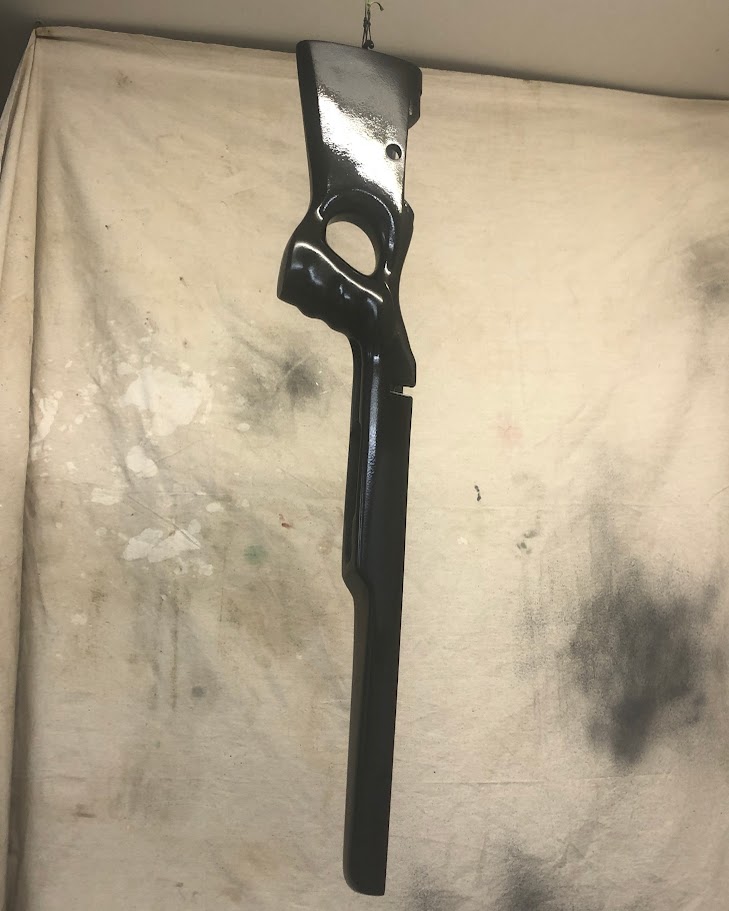
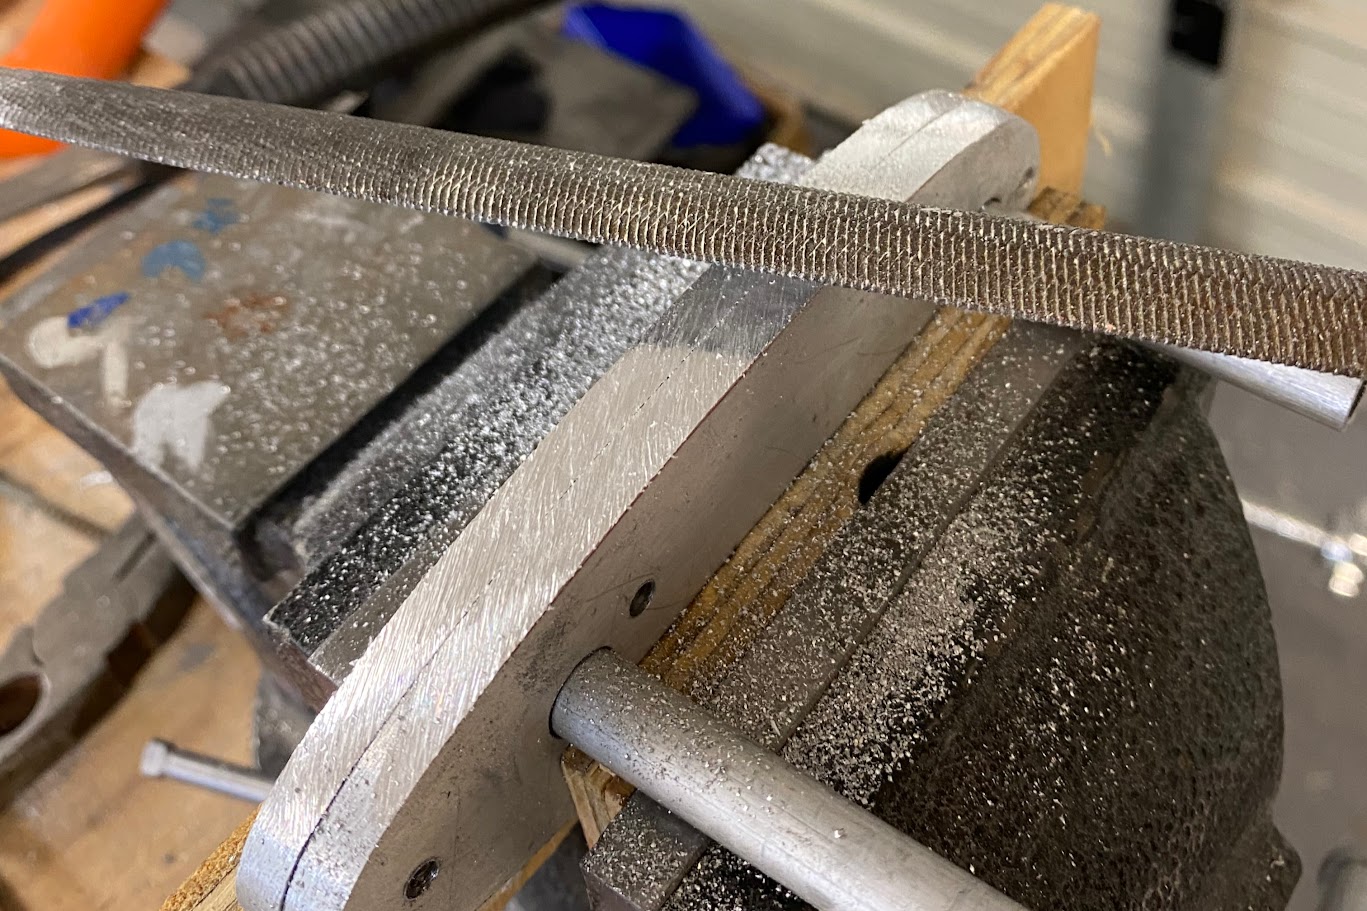
Then, after a lot of filing and sanding you end up with a good representation of what the actual stock will look like.
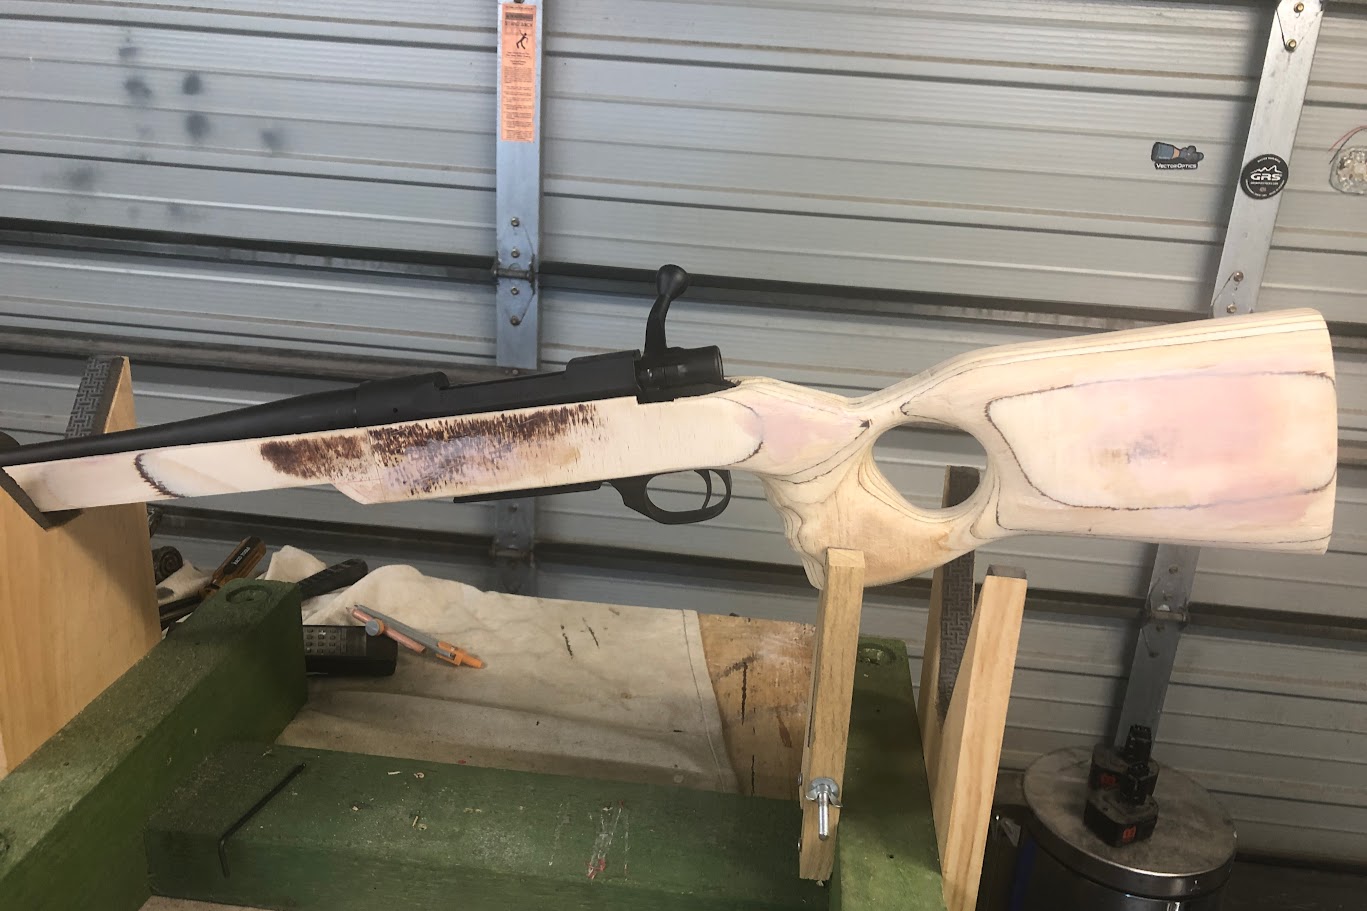
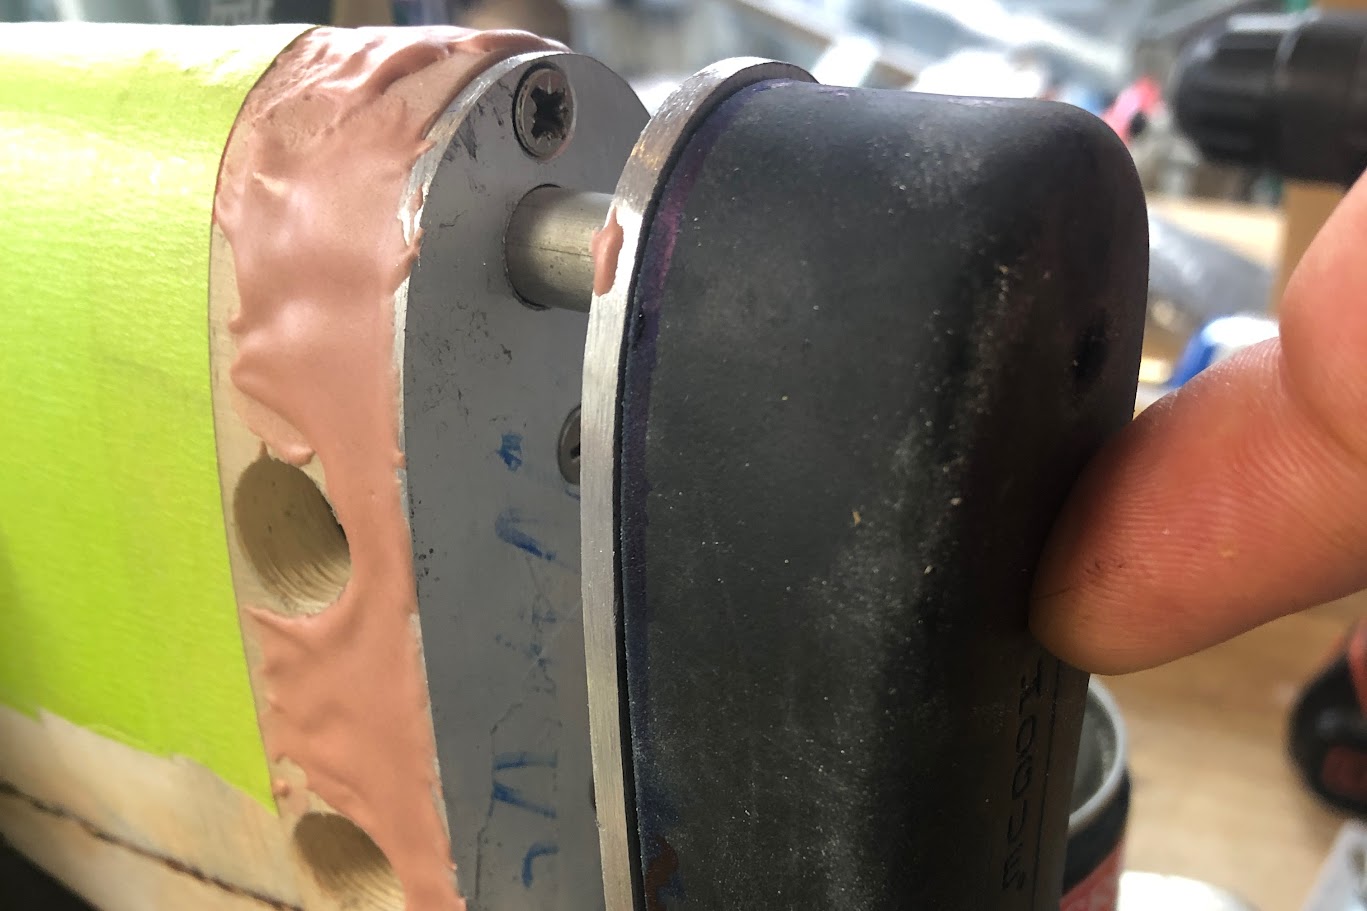
4. Fit the Barreled-action
Now it is good time to fit the barrel and action. This specific stock is for a Howa 1500. This process involves cutting and hollowing out the inside of the stock so the action will fit snugly, and that all the functions such as the safety will have the necessary space to operate as it was designed to do.
An important check, is to make sure the trigger guard and magazine assembly fit correctly in the stock, and that it will feed the rounds smoothly from the magazine into the action.
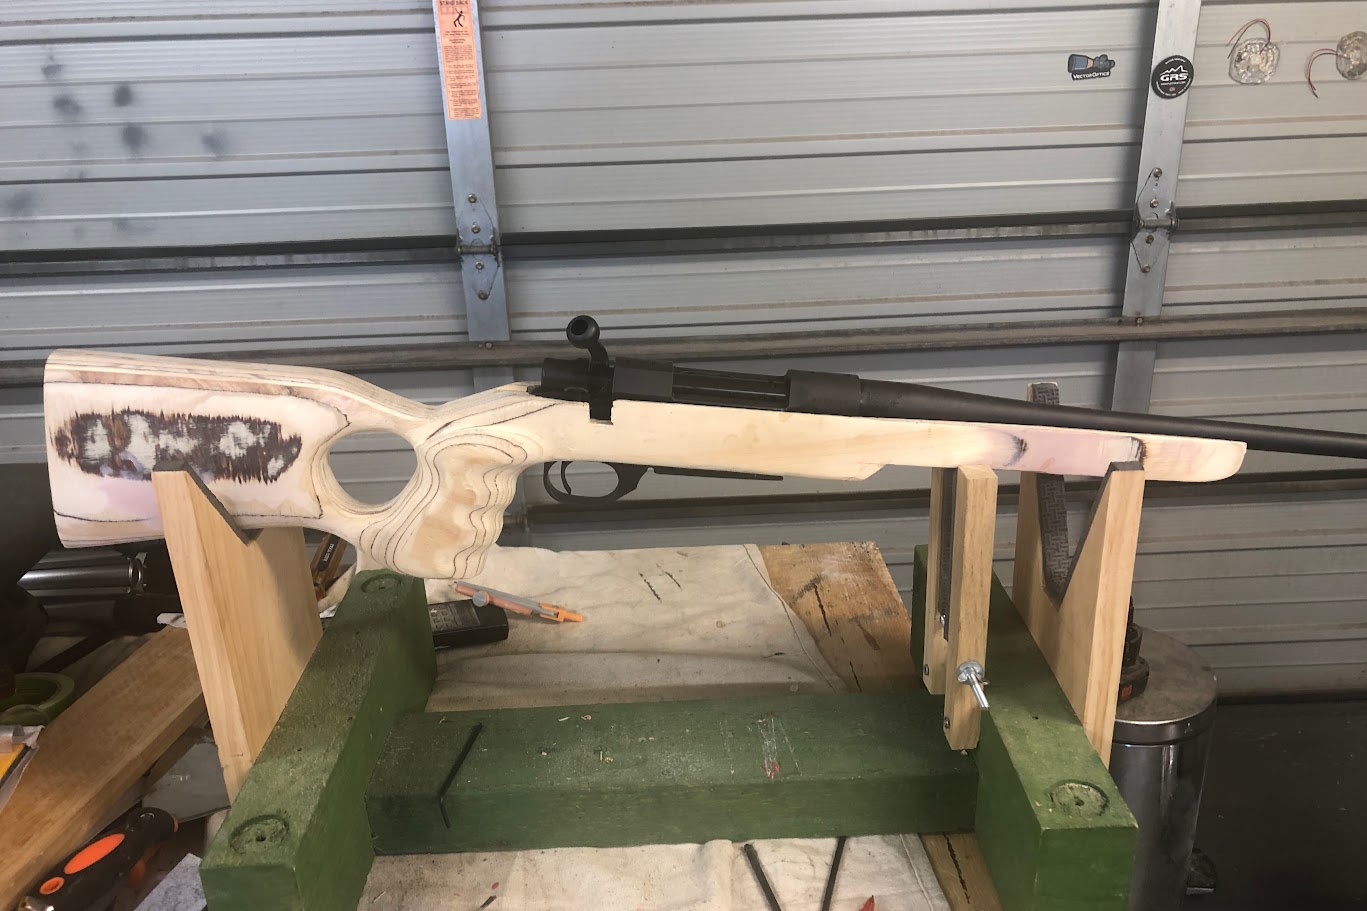
With all of this done, we know the action and barrel fits into the plug-stock. The barrel have sufficient clearance to be free floating. The respective components (bolt, magazine release and safety) all work as they were intended to work.
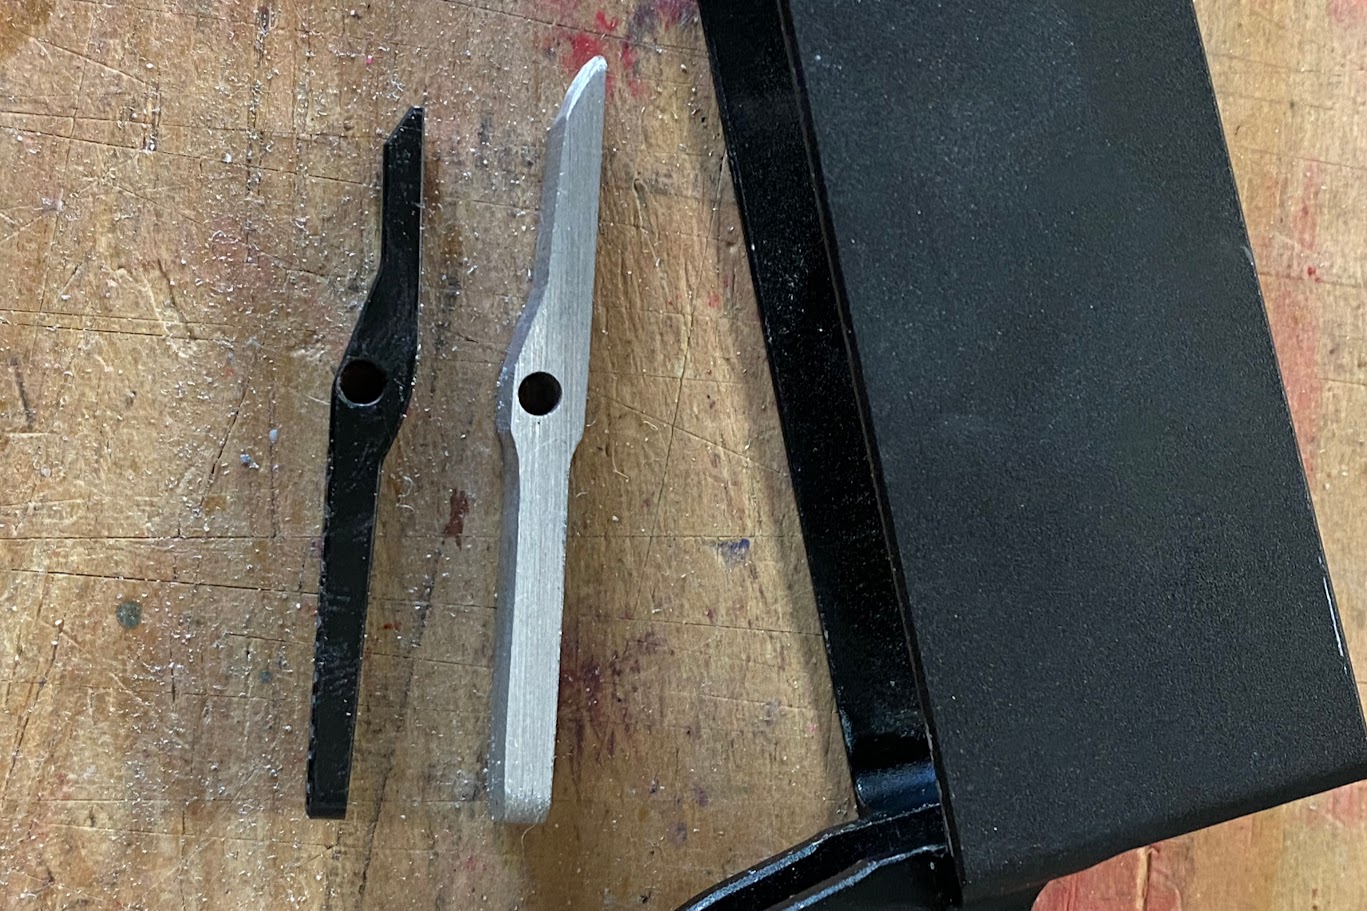
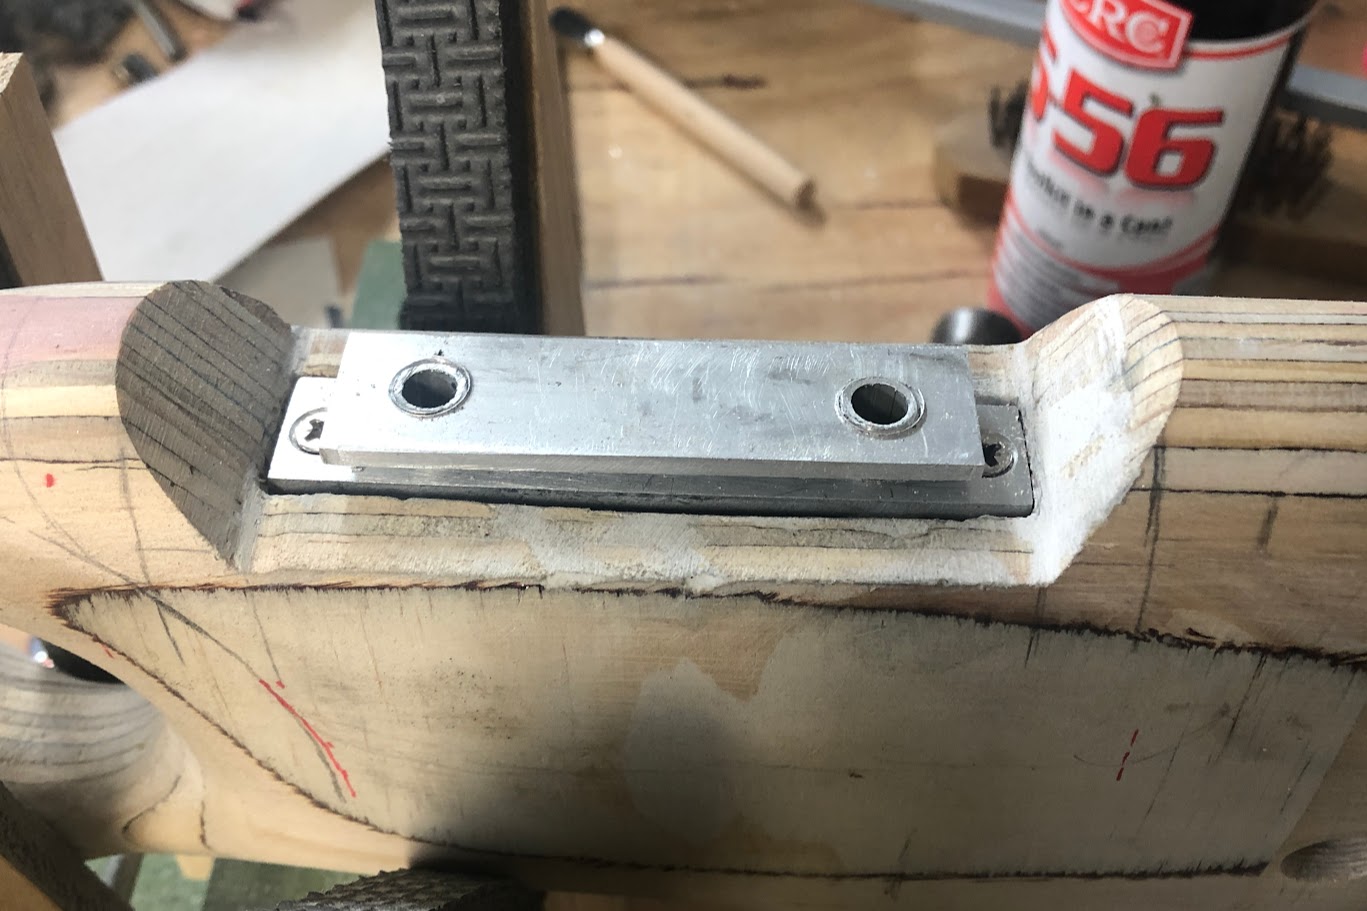
5. Build the mechanisms
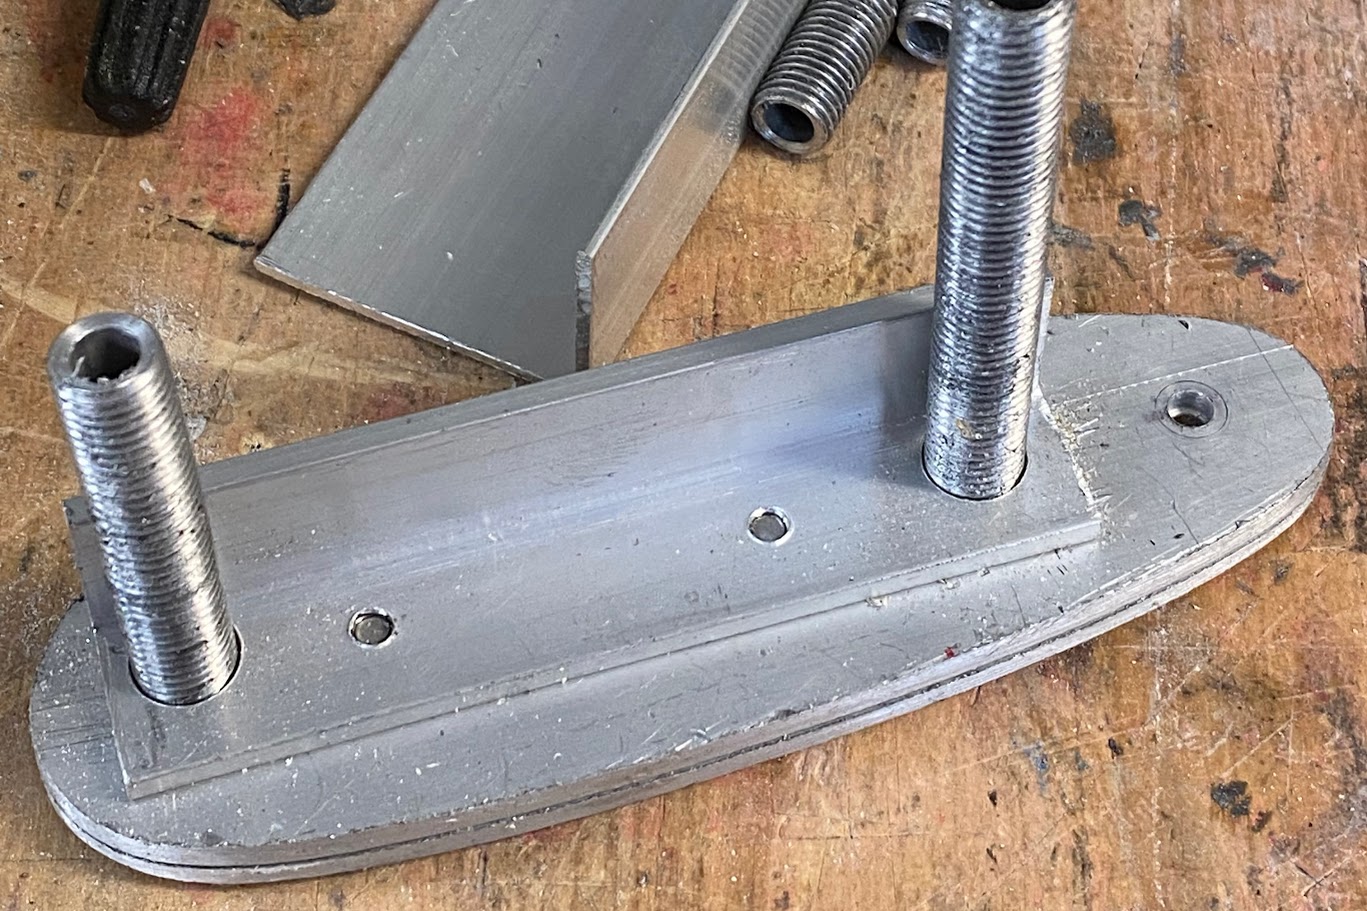
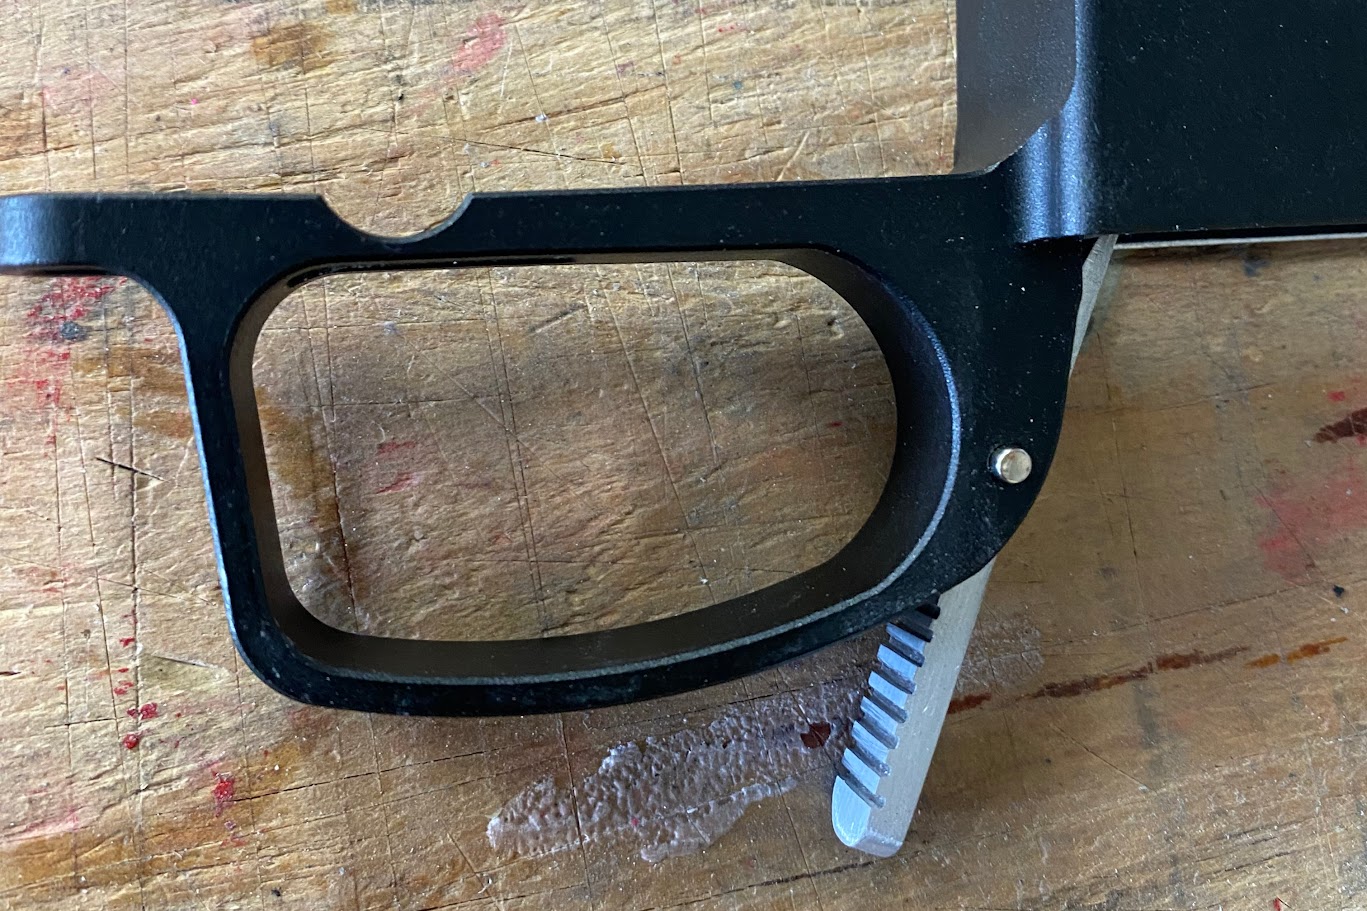
6. Fit the mechanisms and continue the plug build
7. Finishing touches