
How to do Pillar and Action bedding

What is Pillar and Action bedding?
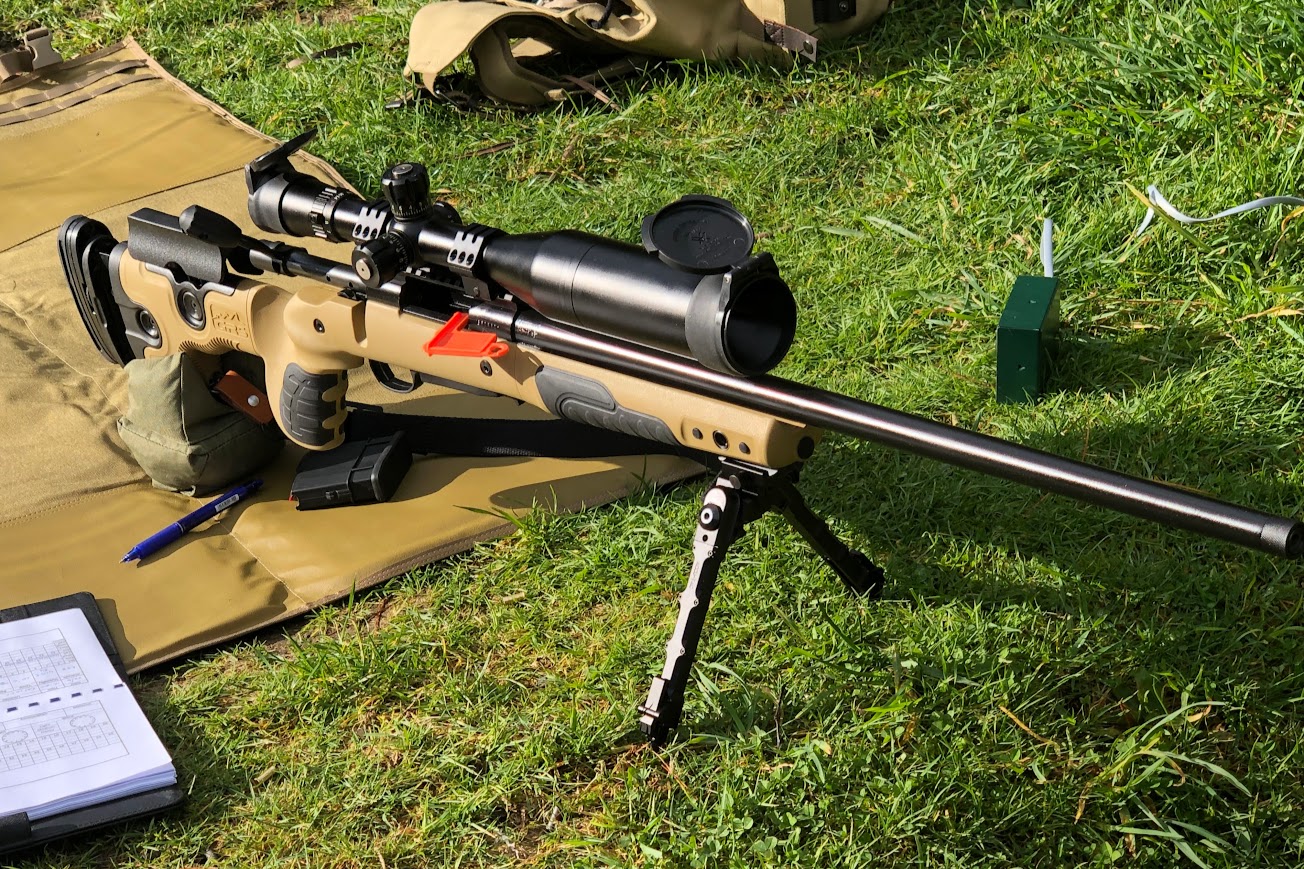
Pillar and action bedding on a rifle are techniques used to enhance the accuracy and consistency of the rifle by ensuring that the action (the part of the rifle that houses the bolt and chamber) is securely and consistently attached to the stock.
Action bedding
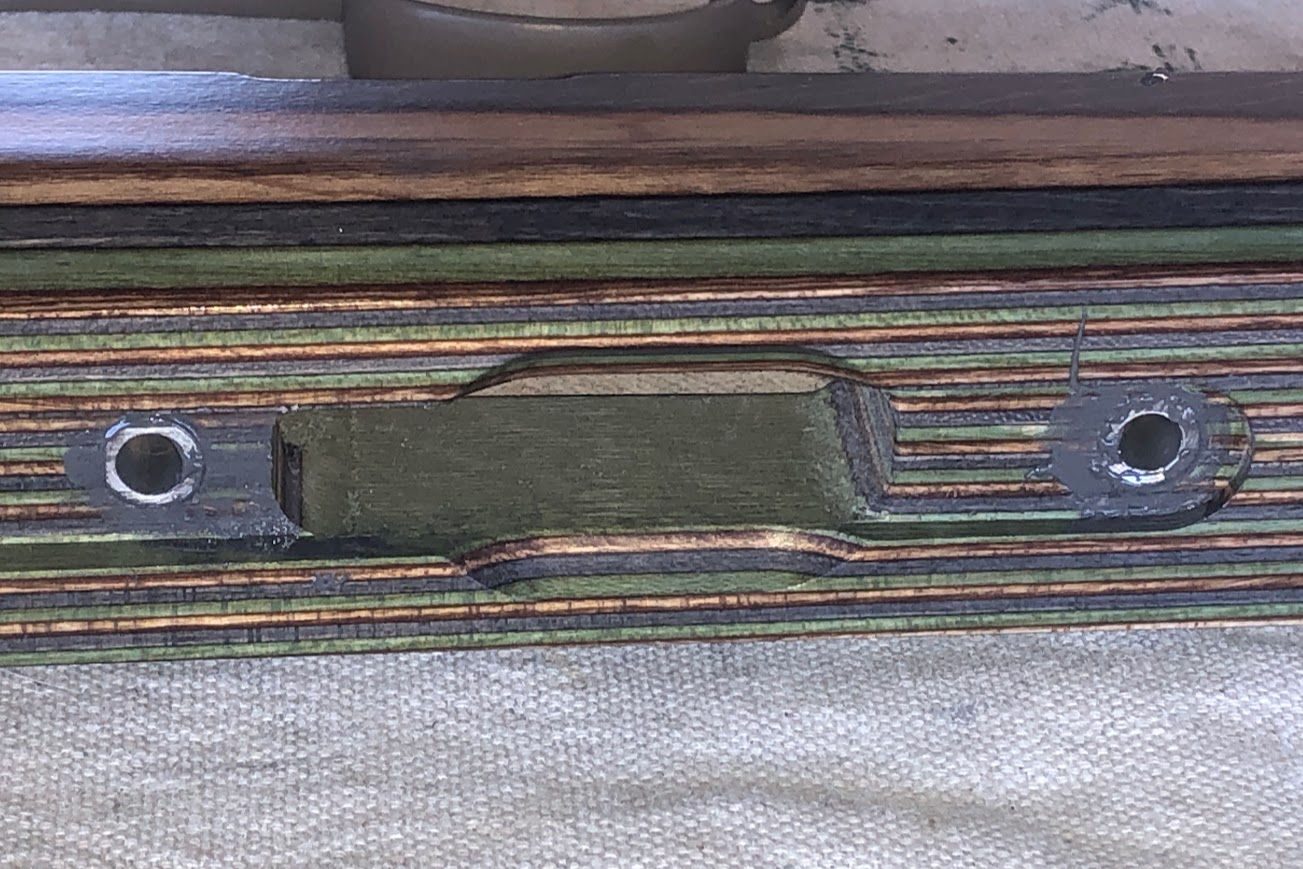
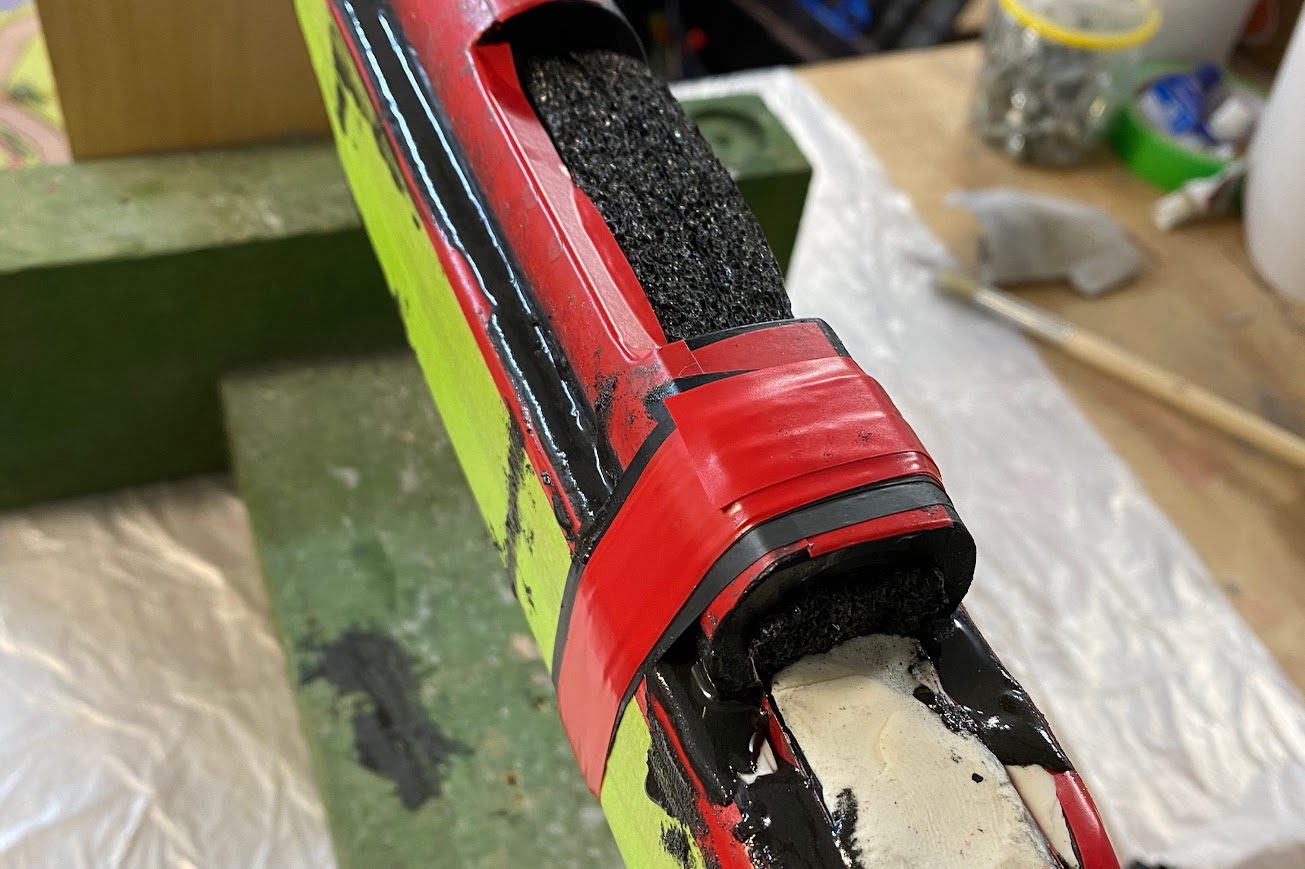
Action bedding uses a bedding compound, such as epoxy, to create a custom-fitted seat for the action within the stock, ensuring it is securely and evenly supported along its entire length. This tailored fit minimizes any movement or shifting of the action within the stock, even under recoil, which is essential for maintaining accuracy. A properly bedded action guarantees that the rifle’s barrel is free-floating and the action is uniformly supported, resulting in better shot-to-shot consistency and accuracy.
Pillar bedding
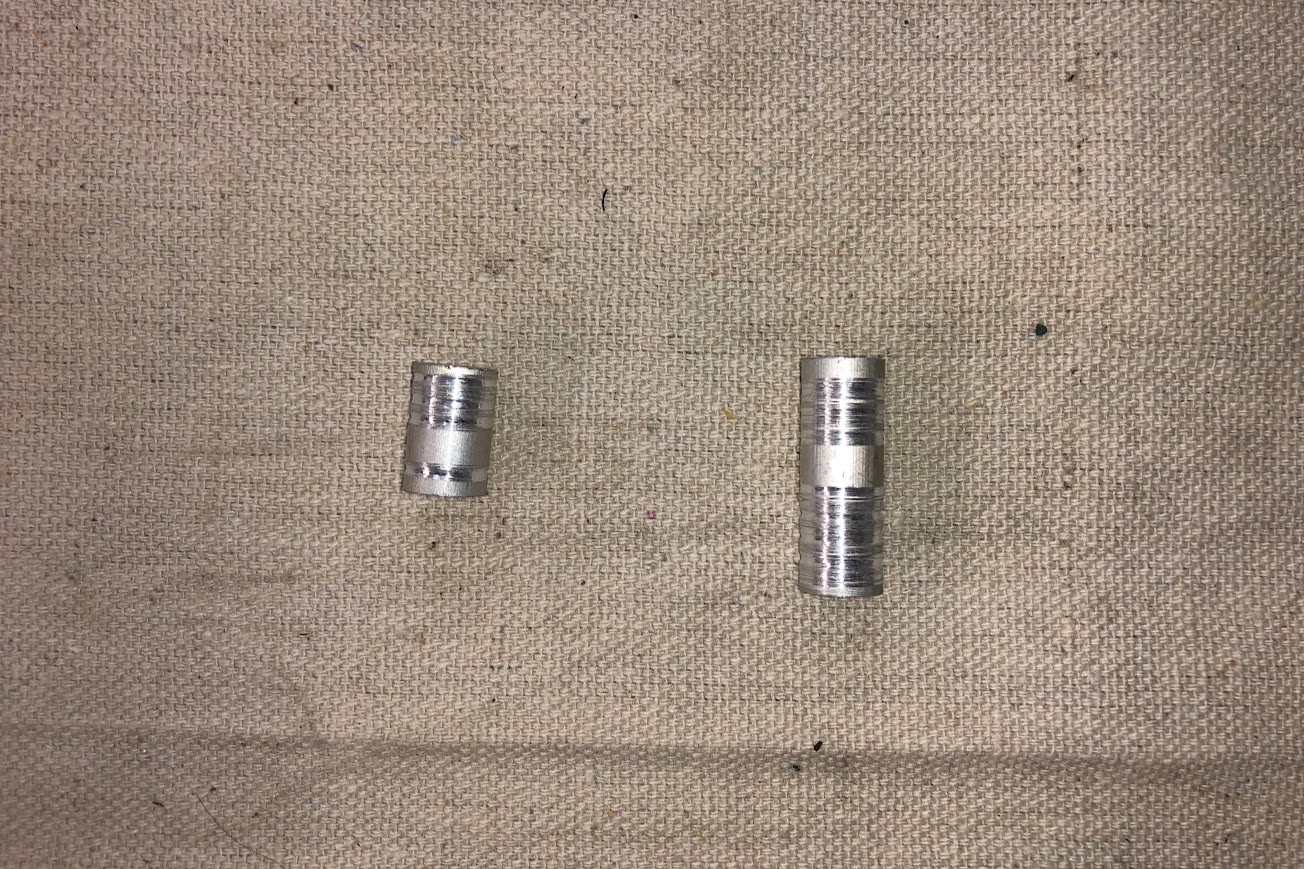
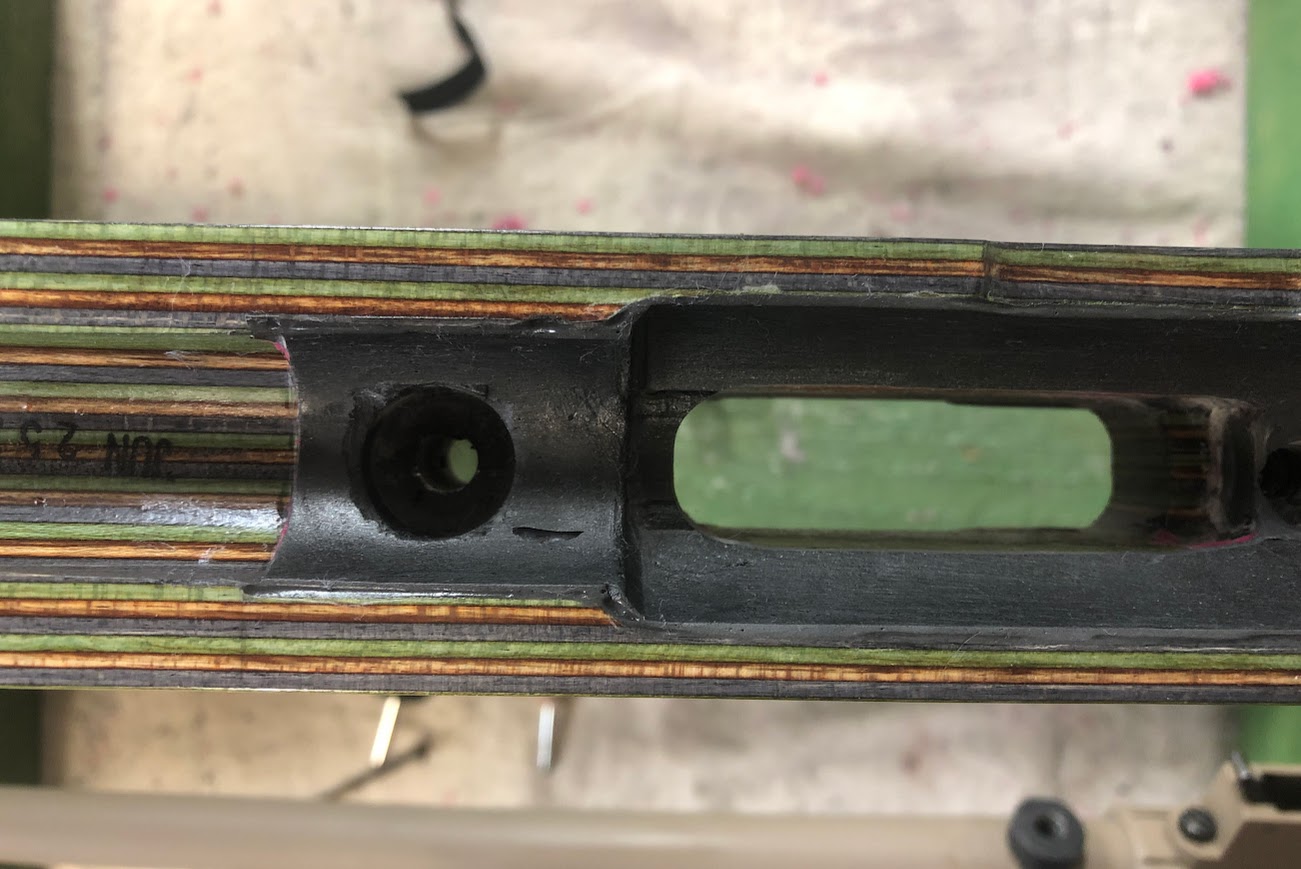
Pillar bedding involves placing metal pillars, typically made of aluminum or steel, in the rifle stock where the action screws are inserted. These pillars provide a solid, non-compressible foundation for the action when the screws are tightened. Without pillars, the stock material—often wood or composite—can compress over time, altering the pressure on the action and potentially diminishing accuracy. The pillars prevent this compression by offering a firm surface for the screws to clamp against. Additionally, pillar bedding ensures consistent torque on the action screws, helping to maintain the rifle’s point of impact and overall accuracy.
What do you need?
To perform a pillar and action bedding job on your rifle, you’ll need a combination of materials, tools, and components. Here’s a list of what you’ll typically need:
Materials and Components
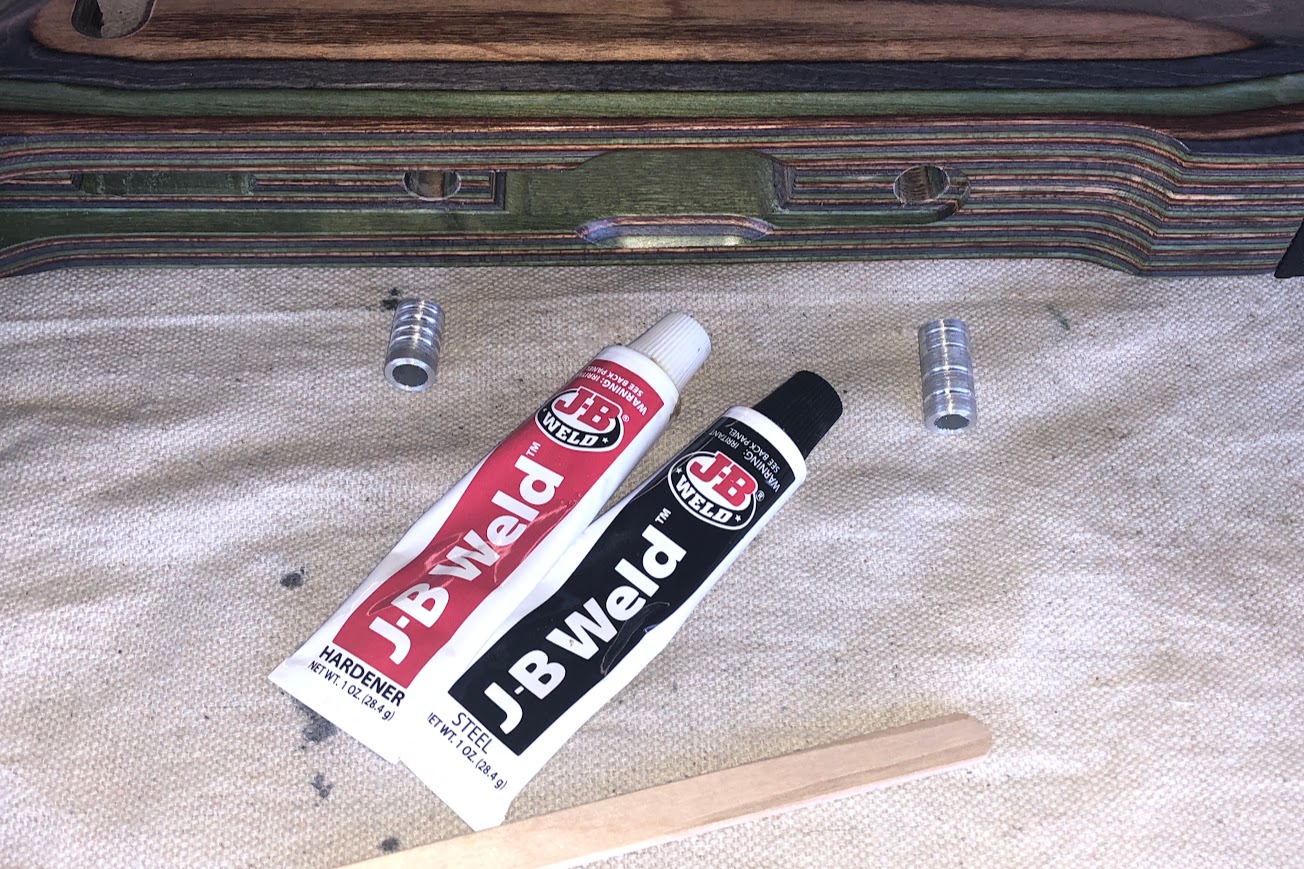
- Material: Aluminum or steel. These are the metal cylinders that will be installed in the stock to provide a solid, non-compressible foundation for the action screws.
- Bedding Compound. Best ones in my opinion are the Epoxy-based bedding compound such as Acraglas, Devcon, Marine-Tex or J-B Weld (for low recoiling rifles). This compound is used to create a custom-fitted seat for the action within the stock, ensuring uniform support.
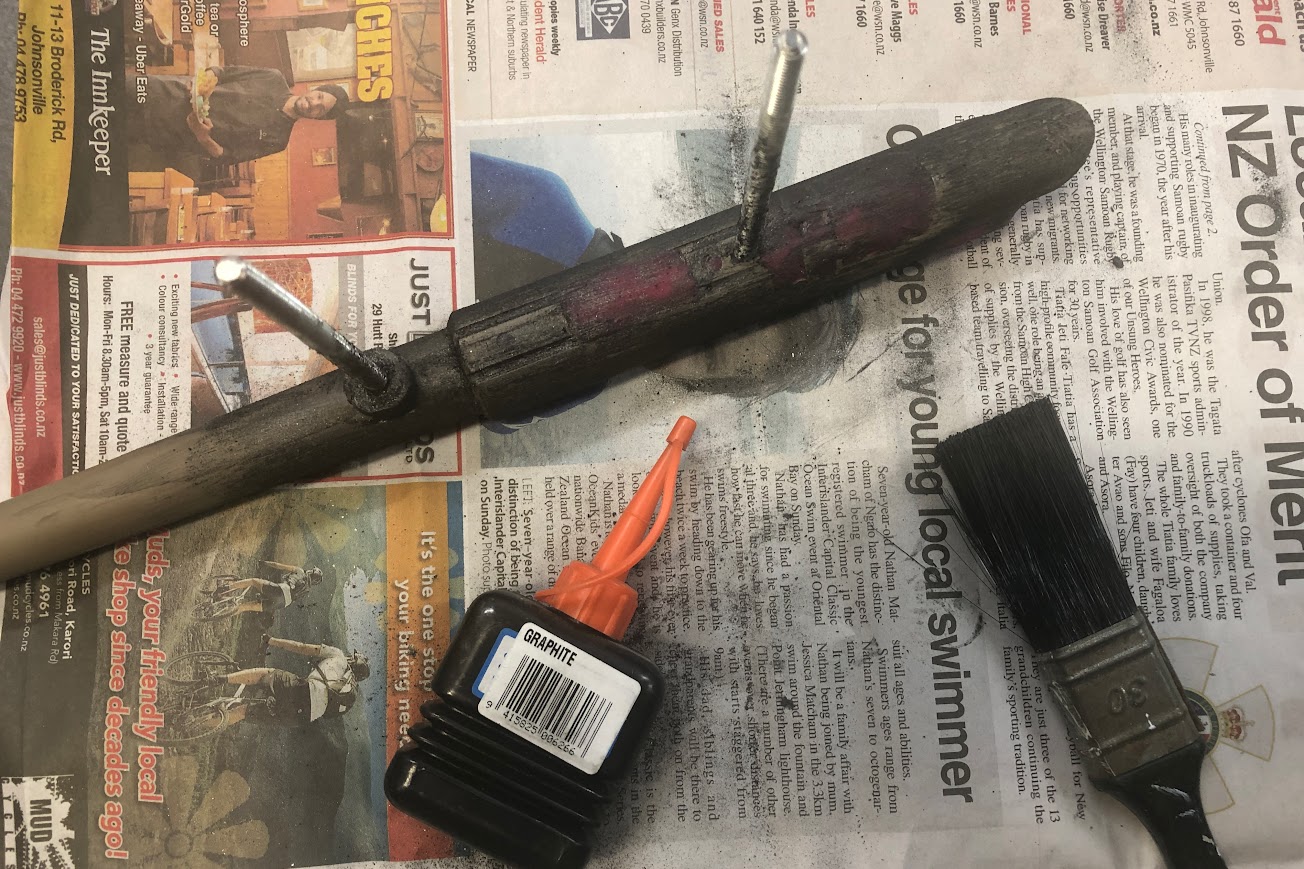
- Release Agent. Can be wax or spray release agent. But my preferred option was black shoe polish (quick shine) and graphite powder. This get applied to the action and screws to prevent the bedding compound from bonding to the metal parts. This allows the action to be removed once the bedding compound cures.
- Modeling clay to fill in any voids or areas where you don’t want the bedding compound to go, such as screw holes or cavities in the action.
- Masking tape to protect areas of the stock and action that you don’t want to be affected by the bedding compound.
- Sandpaper. Various grits (120, 220, 400) for prepping surfaces and finishing the job. This will be used for roughening the areas where the bedding compound will be applied and for final finishing.
- Dremel Tool (recommended) to remove material from the stock where the pillars will be installed and to create space for the bedding compound.
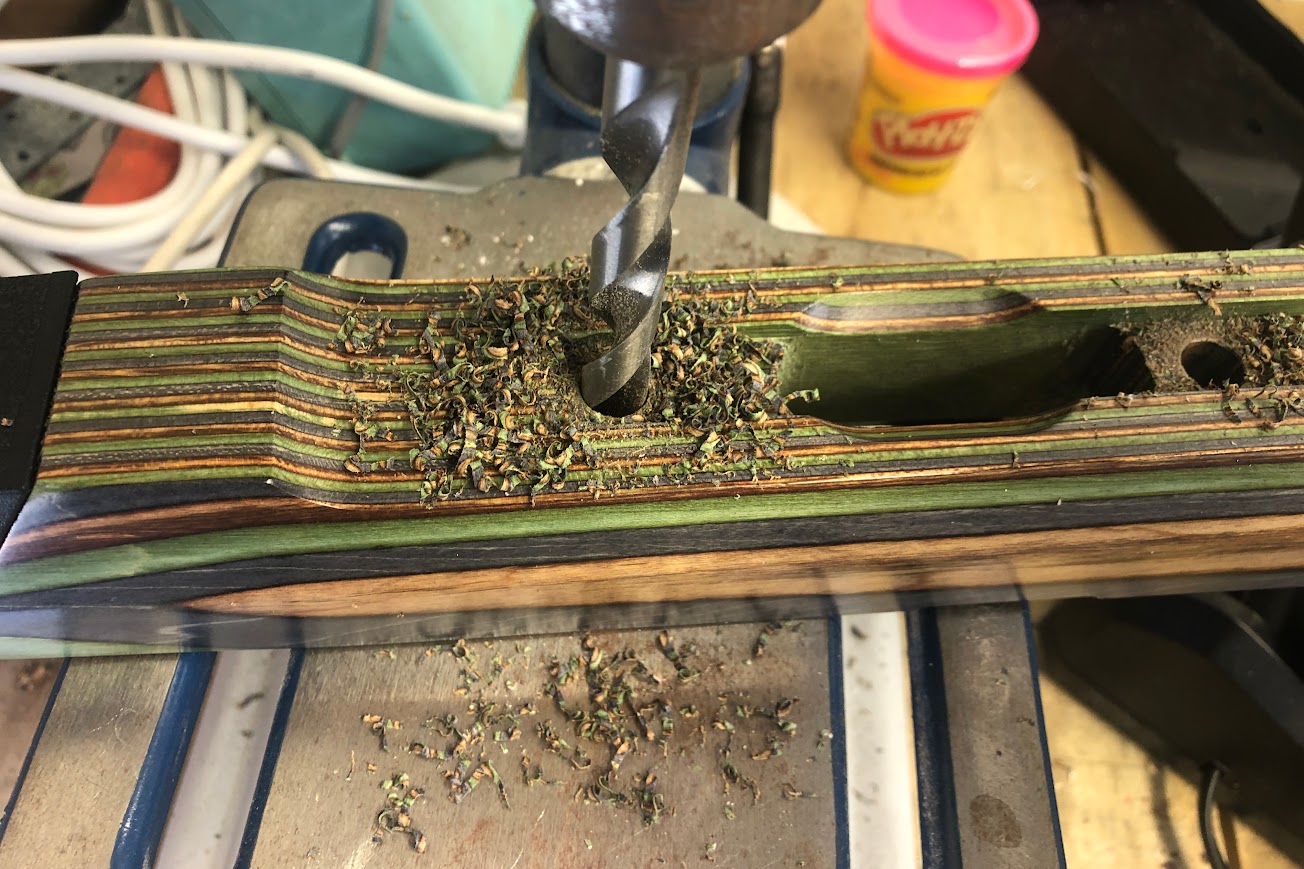
- Drill and drill bits to drill out the stock to fit the pillars and any necessary holes for the action screws.
- Screws and washers to temporarily secure the action to the stock while the bedding compound cures.
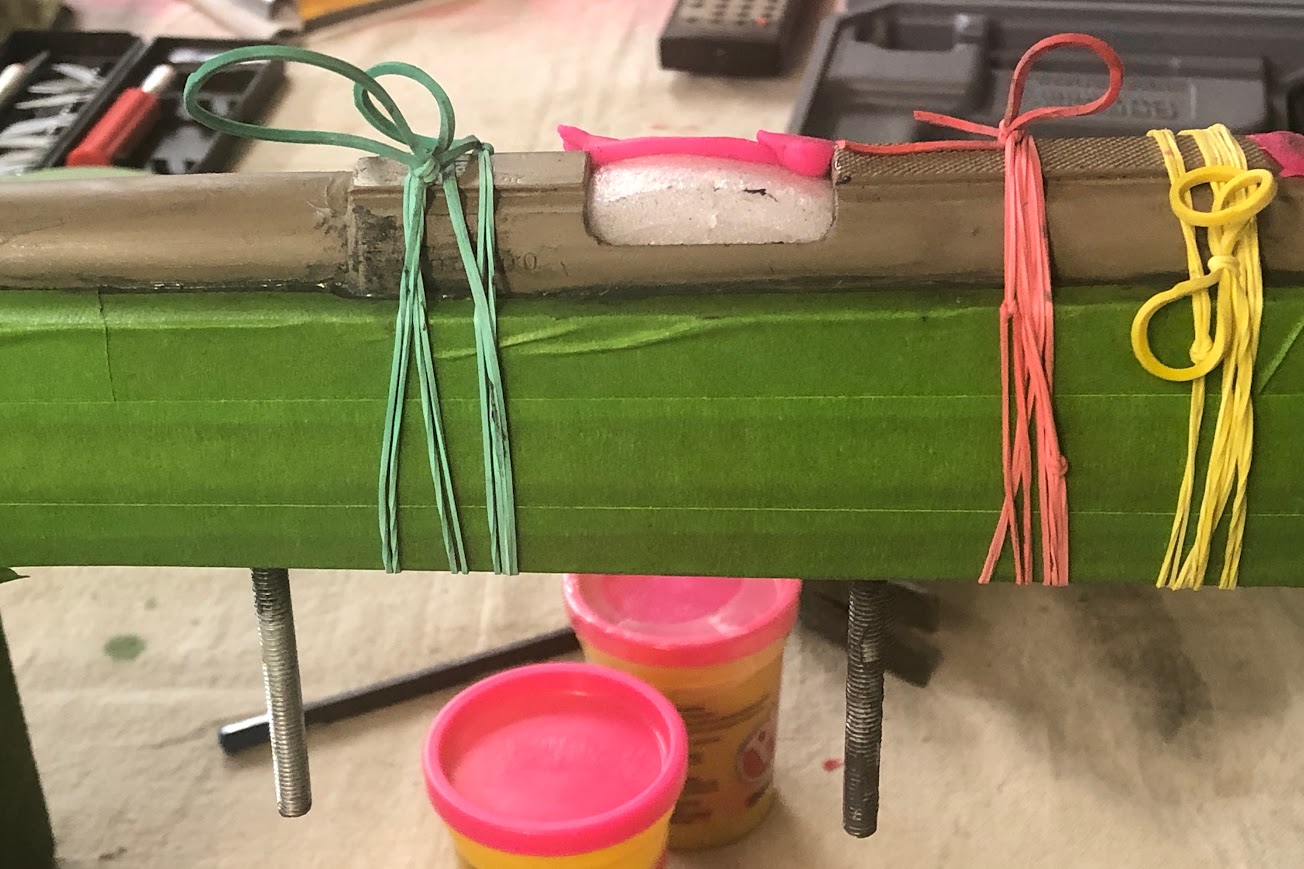
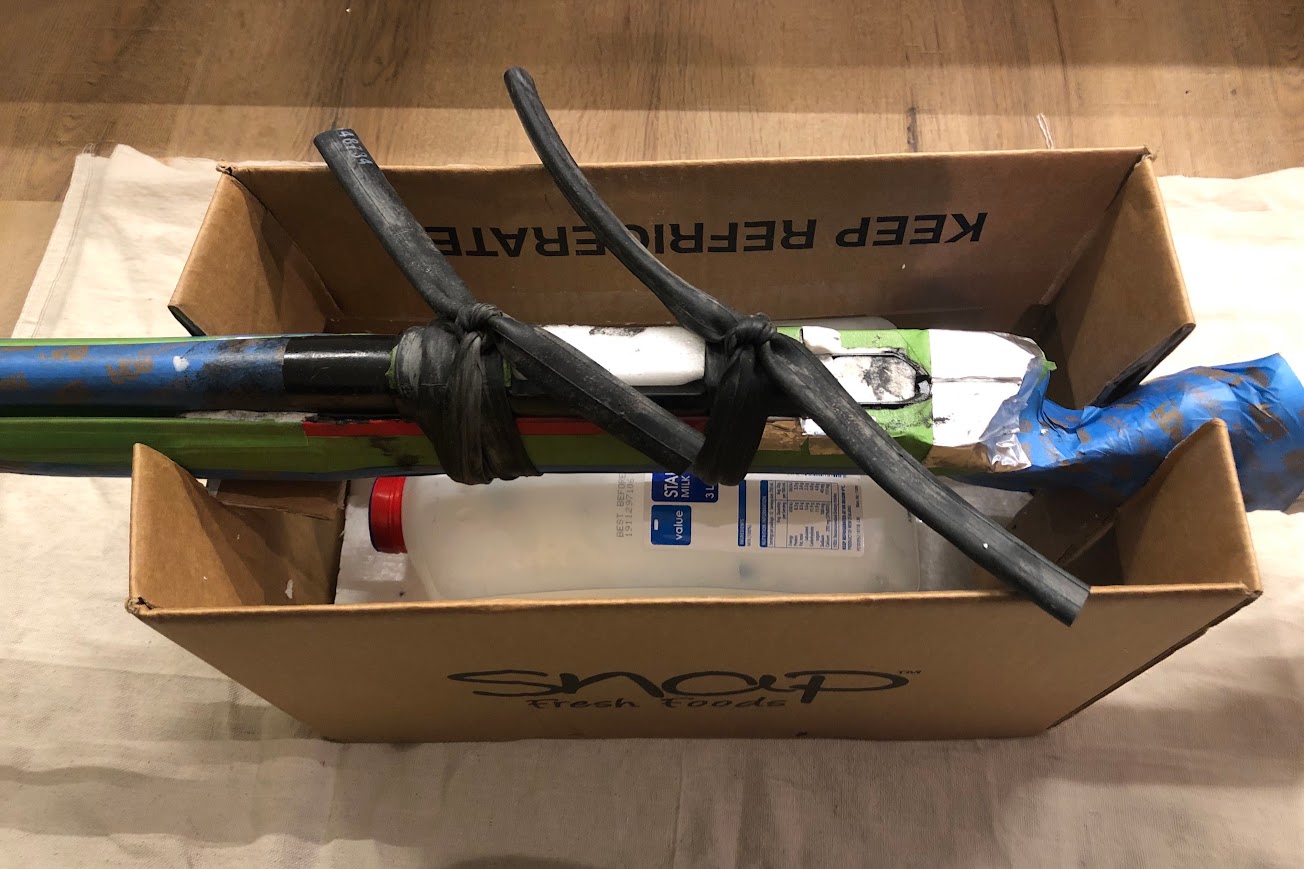
- Clamps, weights or old bicycle inner tubes to apply pressure to the stock and action during the curing process, ensuring a tight and secure bond.
Getting on with it
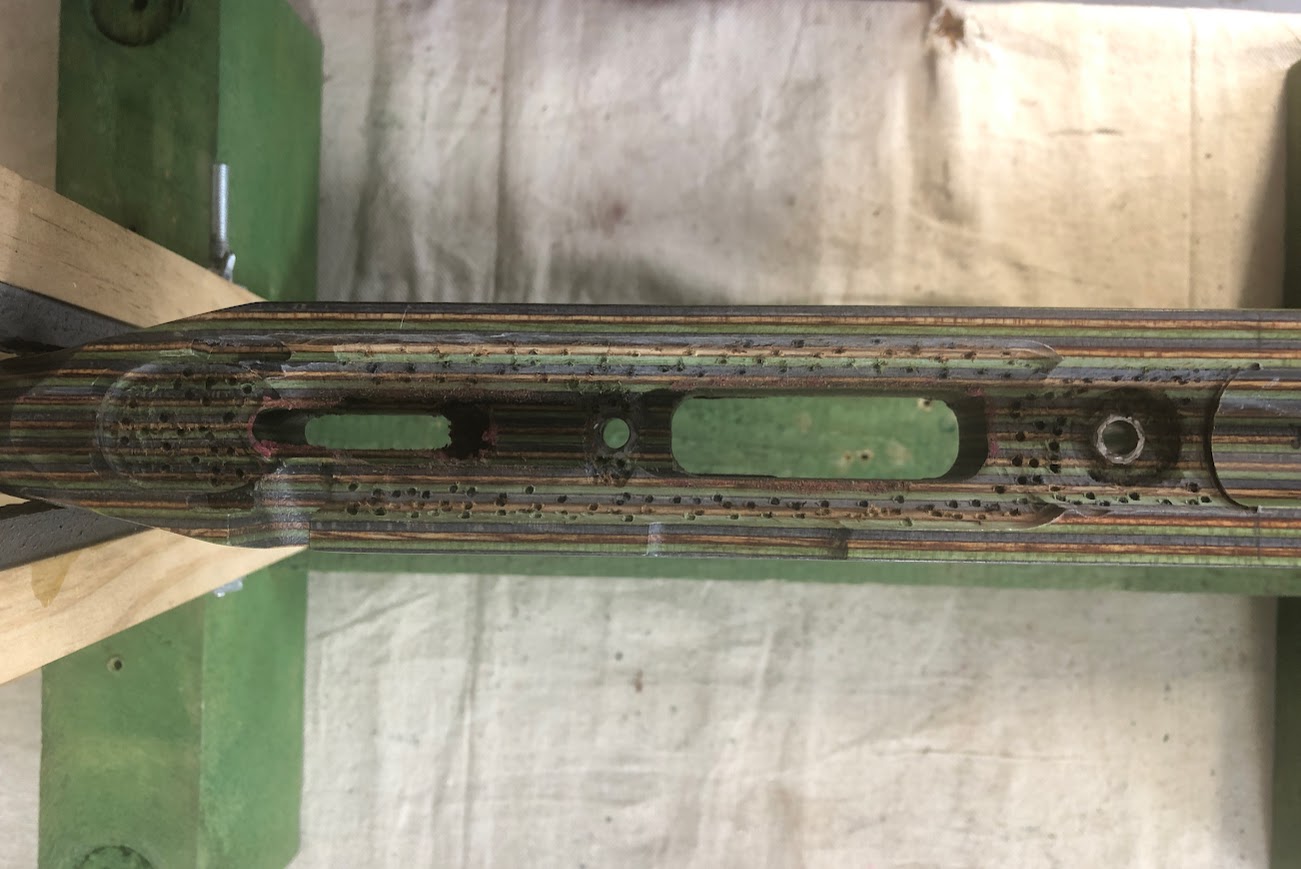
- Prepare the Stock: Remove material where the pillars will be placed and where the bedding compound will go.
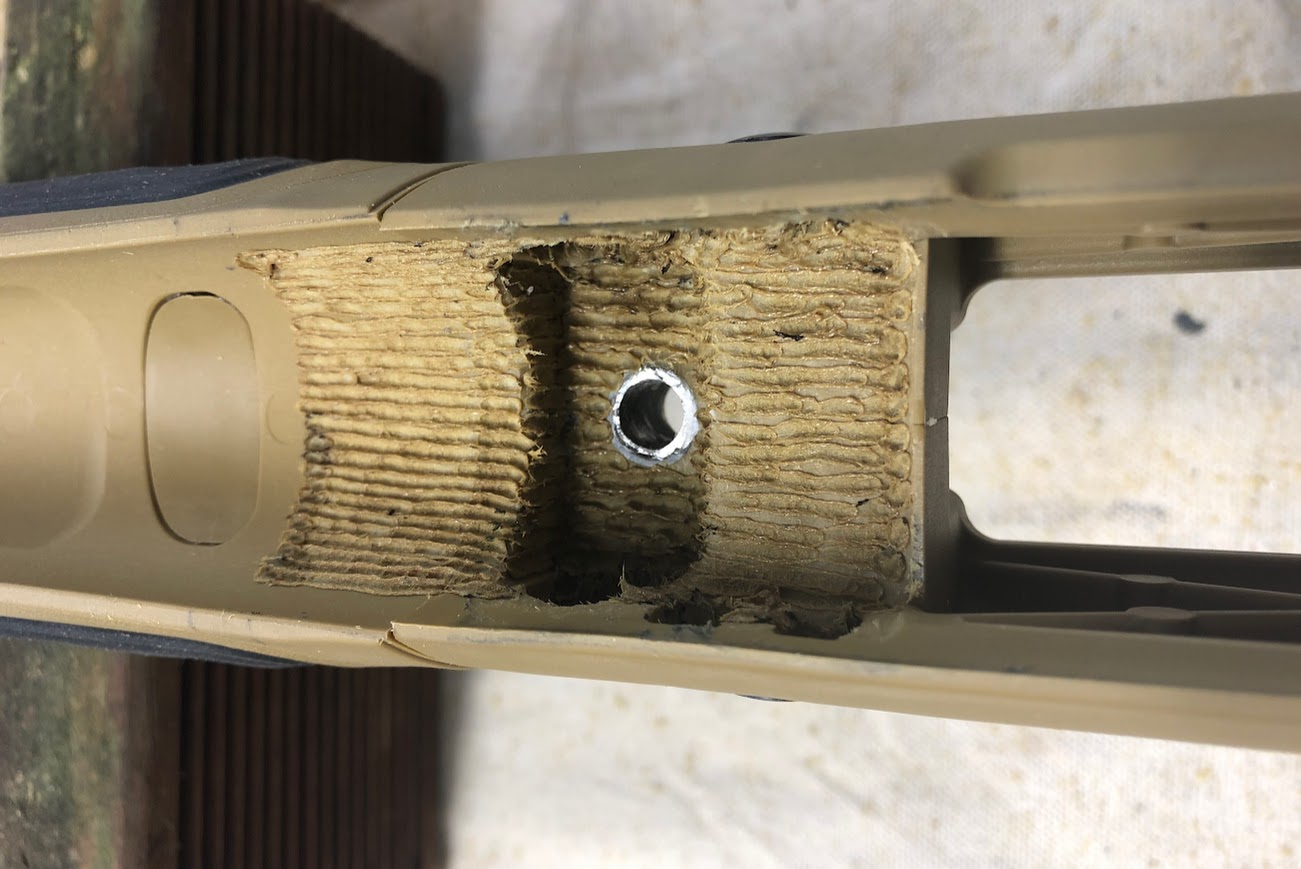
- Install the Pillars: Fit and secure the pillars in place within the stock.
- Apply Release Agent: Coat the action and screws with a release agent.
- Apply Bedding Compound: Mix and apply the bedding compound to the stock and around the pillars.
- Install the Action: Place the action into the stock, secure it with screws, and apply pressure.
- Cure: Allow the bedding compound to cure fully, typically for 24 hours.
- Clean Up: Remove any excess bedding compound, unclamp the action, and sand down any rough edges.
- Reassemble the Rifle: Put the rifle back together, ensuring all screws are torqued to specification.
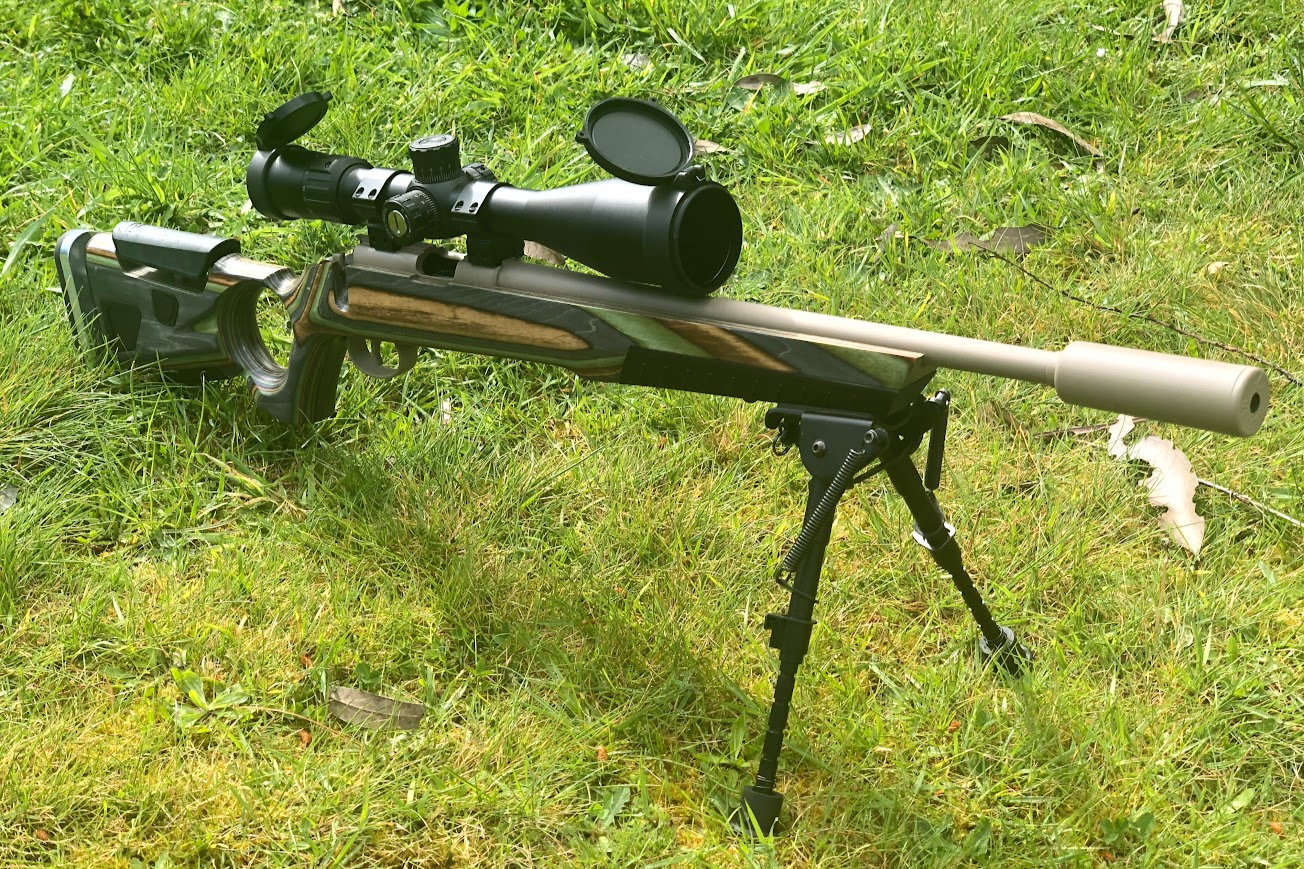
This job requires precision and care, but with the right materials and attention to detail, you can achieve a significant improvement in your rifle’s accuracy and consistency.