Custom Gillo GX Grip
Introduction
When I first started shooting with the Gillo GX 25” riser, I was impressed by its quality and performance. It’s a fantastic riser, and after using it for a few months, I decided it was time to fine-tune my setup to better suit my specific needs.
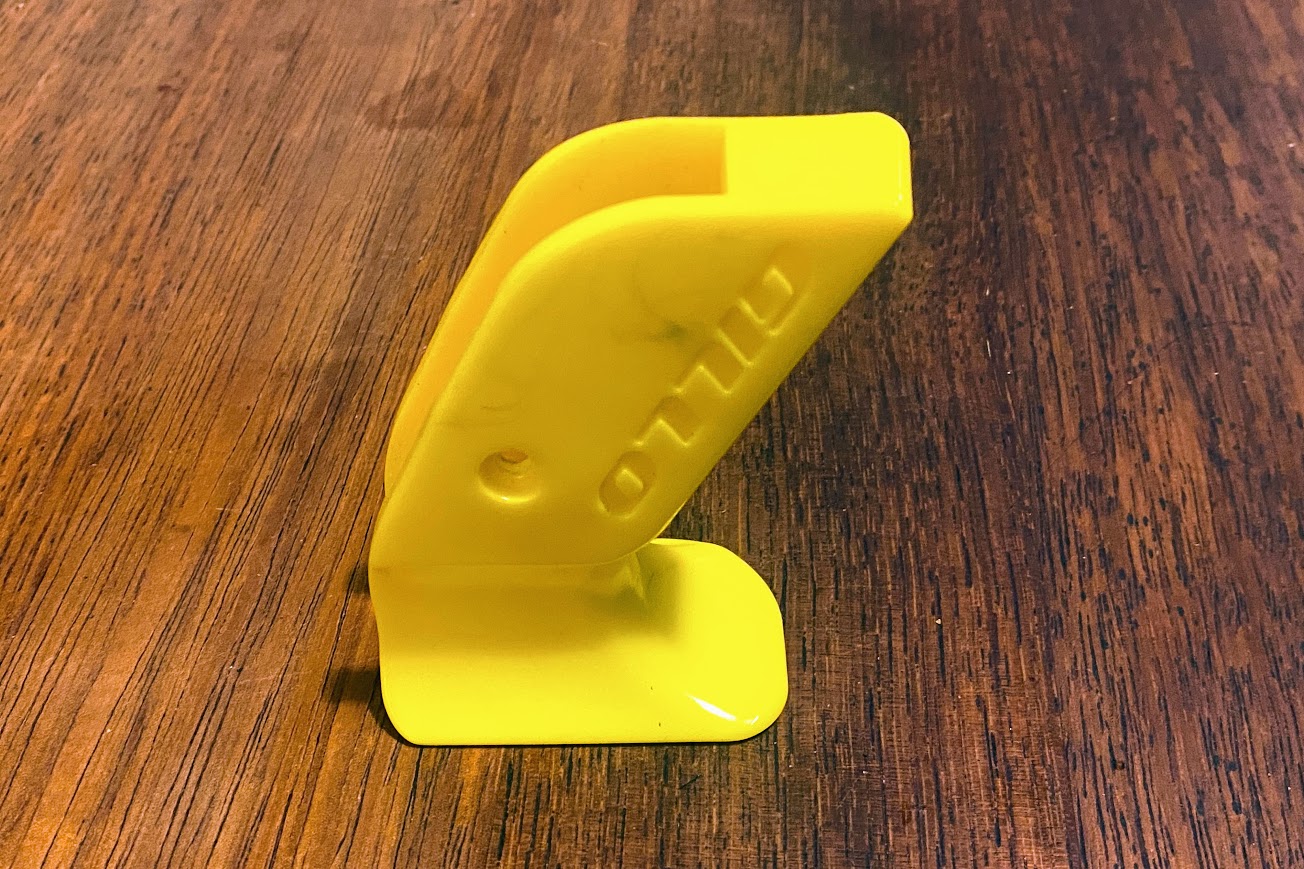
One challenge quickly became clear: the standard grip. Made of polished plastic, it became slippery when my palms started sweating, making it difficult to maintain consistent and comfortable hand placement. This inconsistency showed in my scores. The more I shot during a session, the more I found myself adjusting and fiddling with the grip. This not only distracted me but also disrupted my focus on the most important goal—making each shot as perfect as possible.
Identifying My Grip Needs
To address the issue, I researched my options. Gillo offers custom grips, and there are third-party alternatives as well. However, I had very specific requirements for what I wanted in a grip:
- Wider and Off-Center: I needed the grip to be wider and shifted slightly off-center, toward my little finger, to match my natural hand alignment.
- Lower Bottom Corner: Extending the bottom of the grip would allow it to press consistently into the same spot on the heel of my palm, improving my shot consistency.
- Ergonomic Hand Angle: I wanted a shape that naturally positioned my hand at a 45-degree angle, with space for my thumb to rest lower than my index finger.
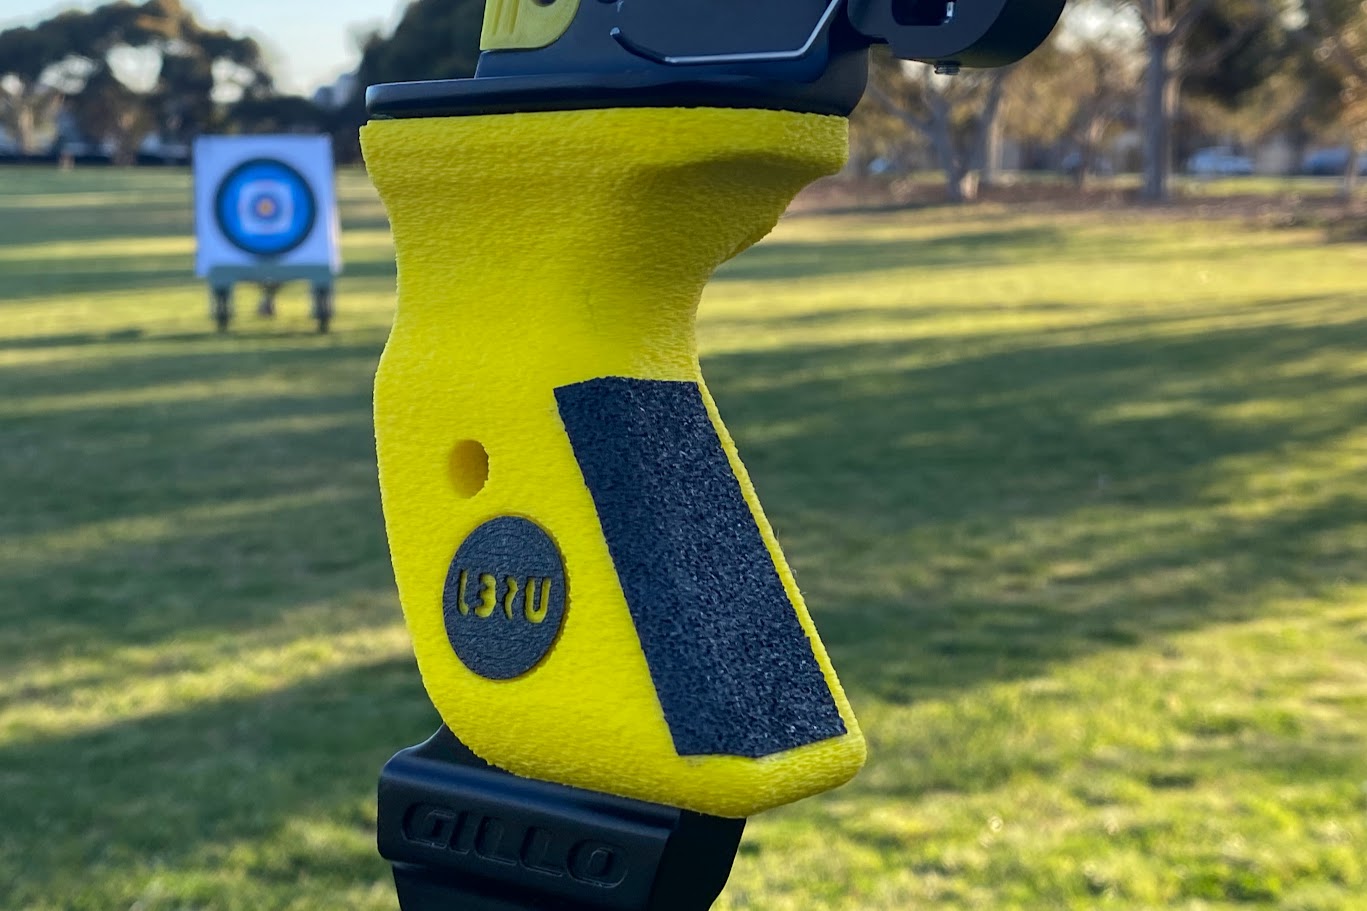
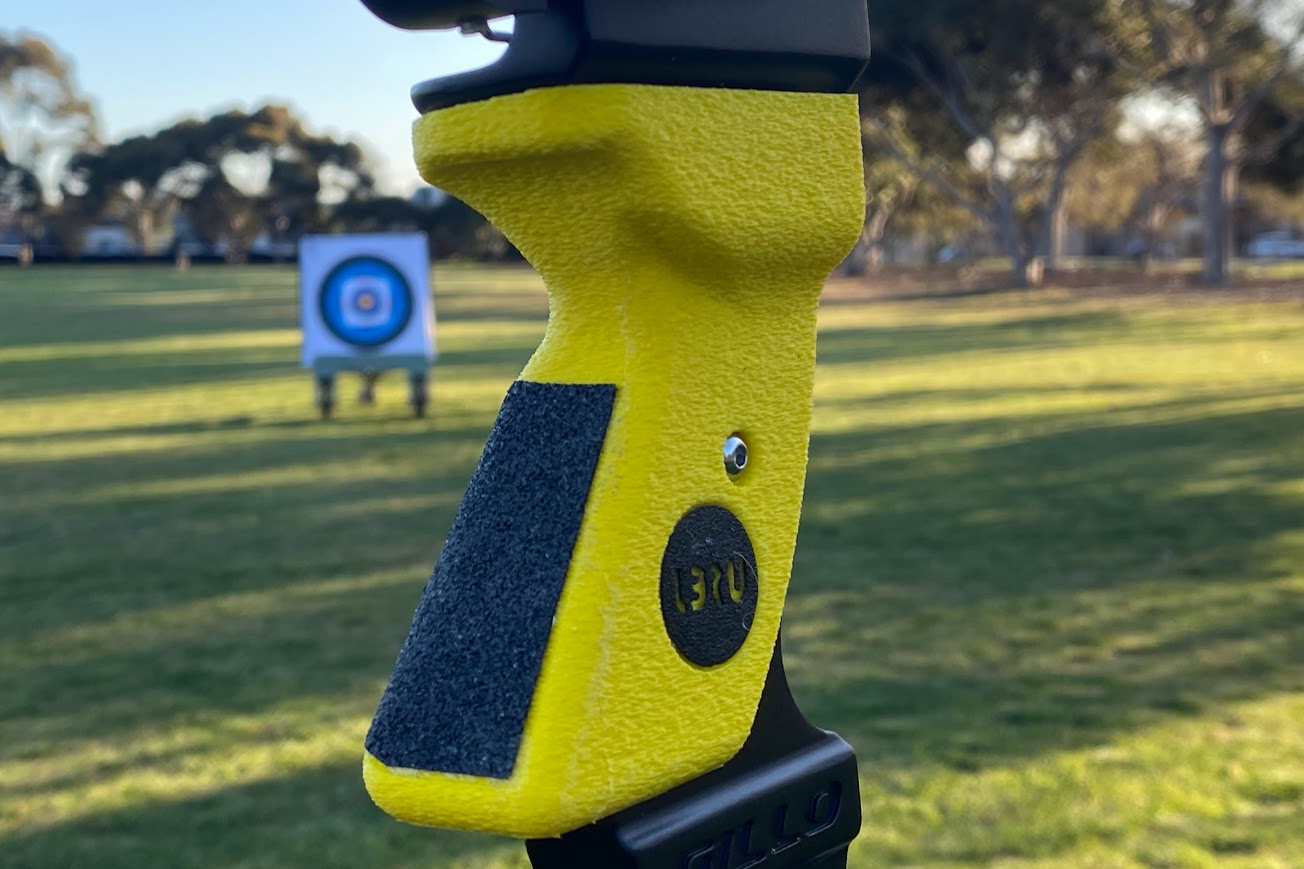
- Sweat Resistance: To combat slipperiness, I wanted the back of the grip (where my hand meets it) to have a textured material that would stay grippy even when my palms sweat.
The Design and Testing Process
I started by designing a basic grip using Fusion 360. The first version was a simple model, focused solely on ensuring the screw holes aligned perfectly and the grip fit snugly onto the GX riser without excess play. Once I had that foundational fit, I began modifying the shape to meet my specific needs.
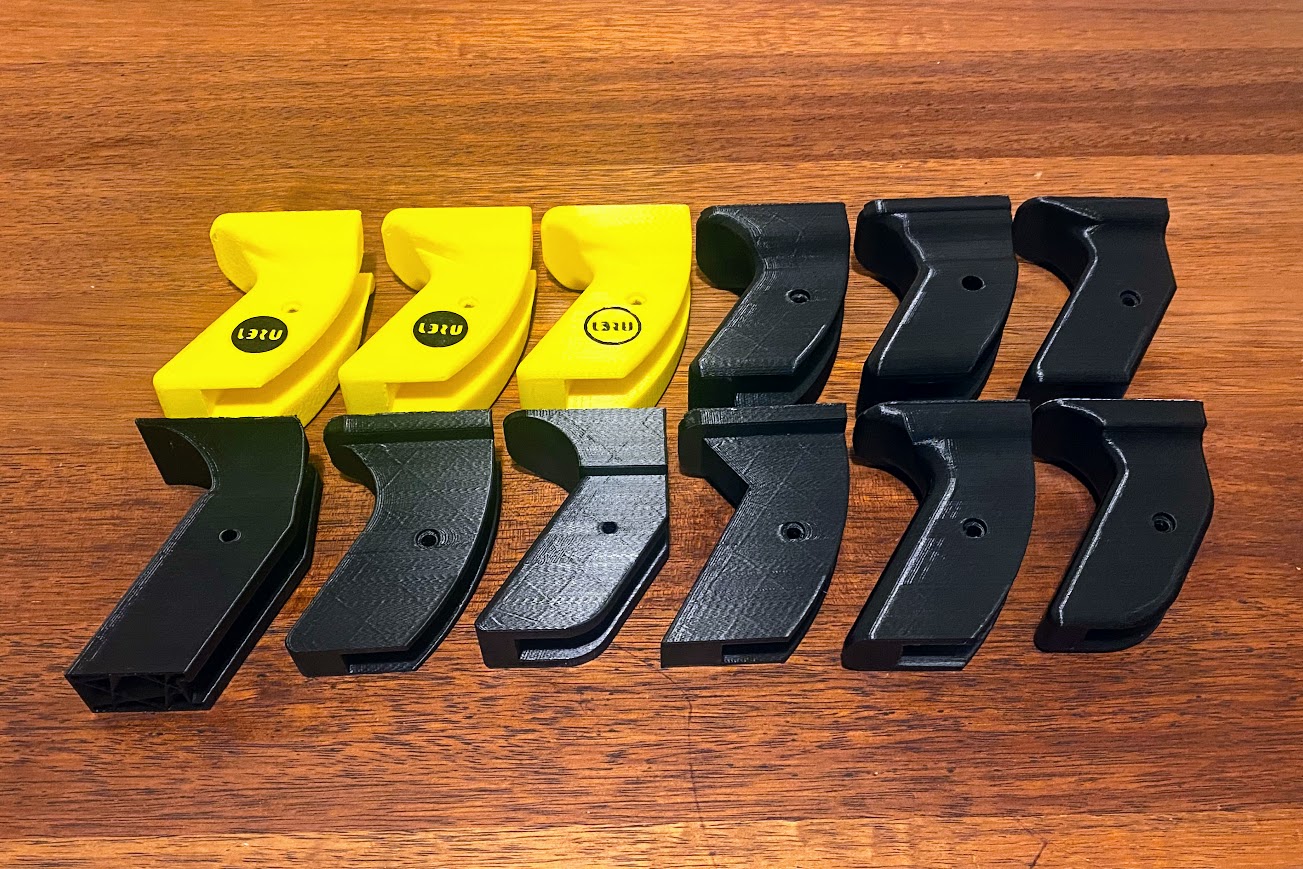
After each adjustment, I 3D-printed a new version of the grip and took it to the range for testing. Each session helped me identify areas for improvement—spots where pressure was uneven, where the grip didn’t sit quite right, or where it caused discomfort, such as chafing or pain in my knuckles.
This iterative process was repeated many, many times—probably more times than I’d care to count! But each refinement brought me closer to a grip that felt just right.
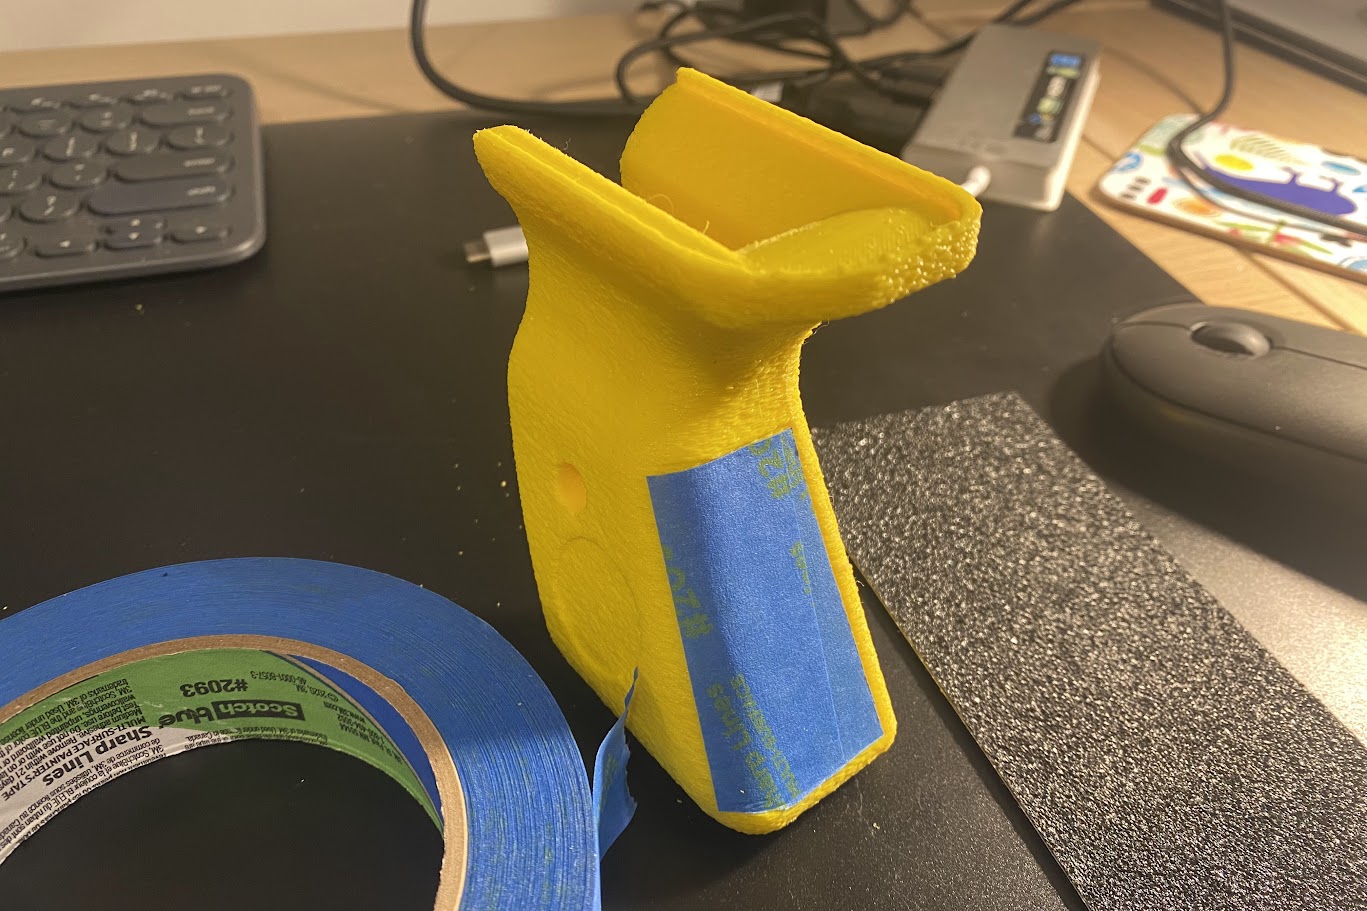
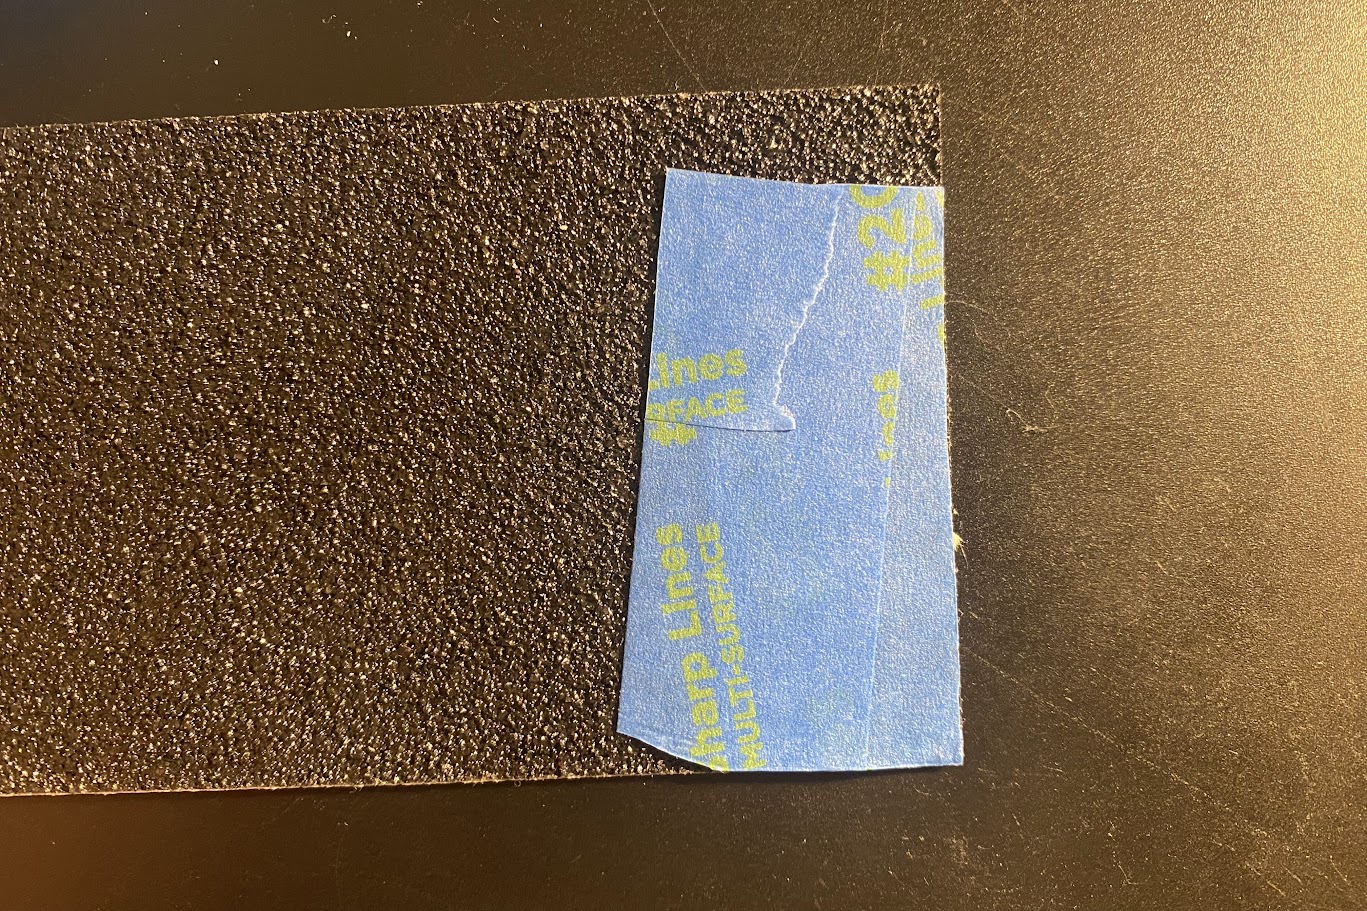
To enhance the grip, I created an indented area which I covered with masking tape, then cut the shape with a hobby blade.
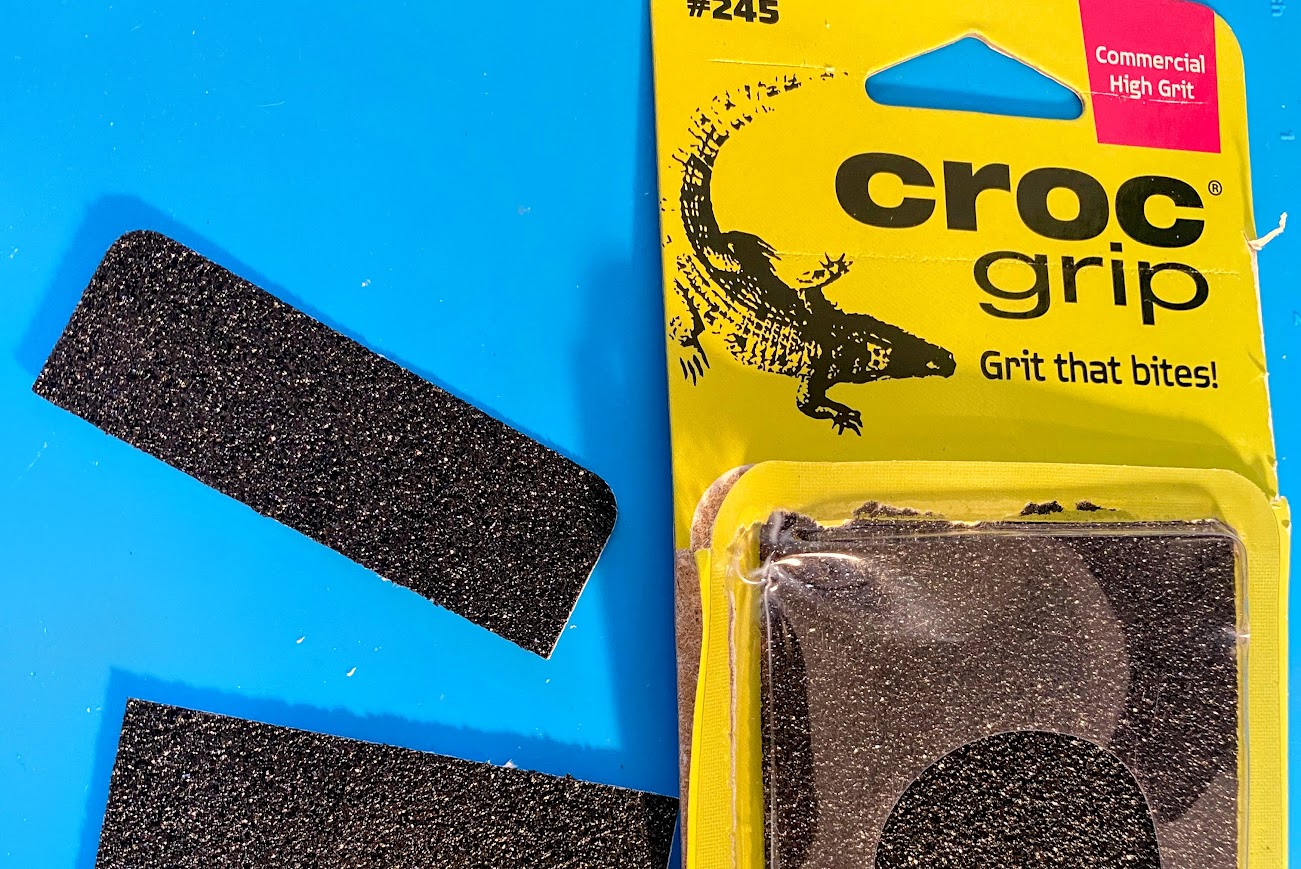
From the local hardware store, I bought stick on grip sheets that is normally used to make steps/stairs safer.
I then transfered the masking tape shape to the Croc Grip, and glued it to the grip.
The Result
Looking back, the effort and persistence were entirely worth it. Through trial and error, I achieved a custom grip that perfectly suits my shooting style and comfort needs. It’s widened, extended, ergonomically angled, and features the textured back I wanted. Most importantly, it’s allowed me to focus fully on my form and execution, without the distraction of grip-related issues.
If you’re considering customizing your setup, my advice is to be patient and don’t settle for anything less than perfection. The process may take time, but the results will transform your shooting experience.

